With just a few clicks, the Webhooks extension allows you to send data to other systems, either within your website or to a third-party like a CRM service.
With this extension you can:
- Enable or disable webhooks
- use Webhooks
- use Zapier to integrate your apps
- use Moosend for marketing
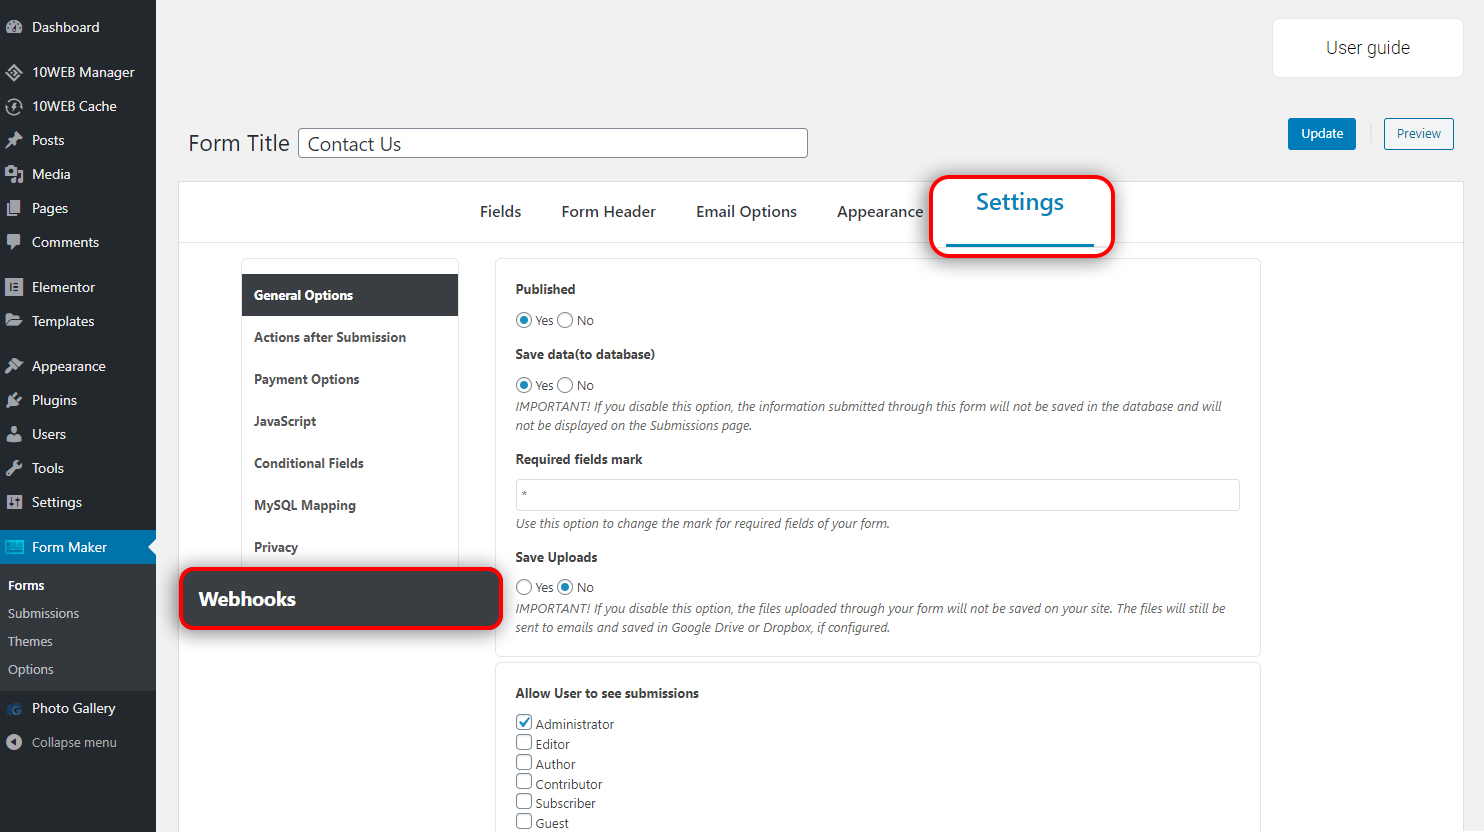
By now we’ve assumed that you have installed the Form Maker Plugin and the Webhooks extension. Find the Form Maker Plugin on the left sidebar of your WP dashboard and open the form to which you would like to apply the Webhooks extension. Click the settings button and find the Webhooks extension on the left sidebar. Click on Webhooks to start configuring.
Options and Functions of Webhooks
- Remote Method - the method by which you would like to send/collect your data.
- Get - send data as query string in URL.
- Post - send data without using a query string in the URL.
- Naming your Webhook - give your webhook a title.
- Always Save Data - In cases of timeout, unauthorized access, and request redirects, webhooks can fail to send. This option saves the data submitted through your form, regardless of the failure of your webhooks submission.
- Send Failure Email - In case webhooks fail to send, an email will be sent to the provided email address regarding the failure of the webhooks.
- Encode ARGS into JSON string - arranges arguments/data into lightweight and easy to read JSON string recognizable by most programming languages.
- Remote URL - the URL to which you will send your data.
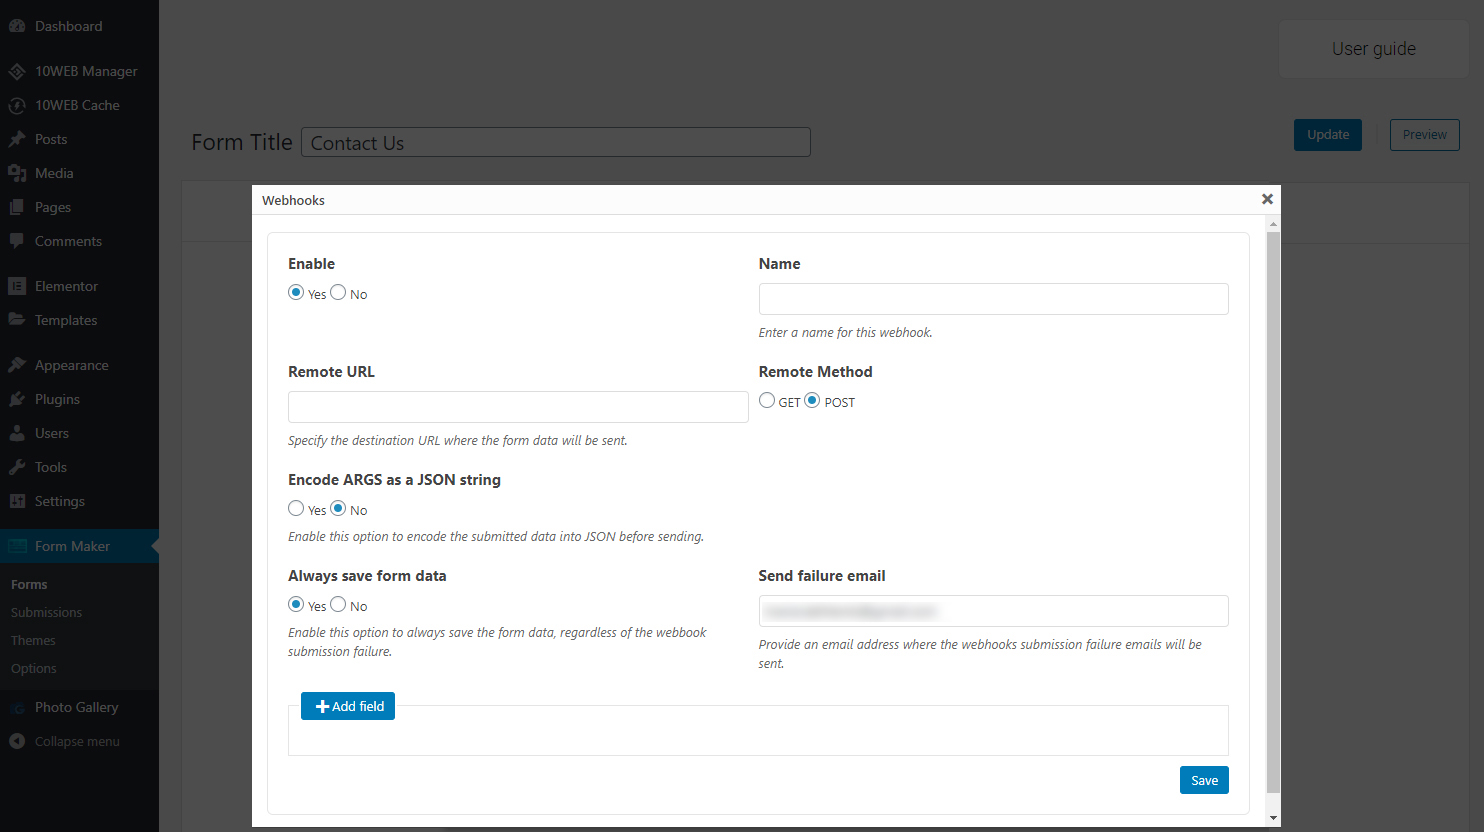
- Add Field - allows you to define the name of the form fields(fields that make up that particular form, such as phone number, email, name, etc) to be sent along with other miscellaneous fields such as the IP address, the admin email, the verification link, and more.
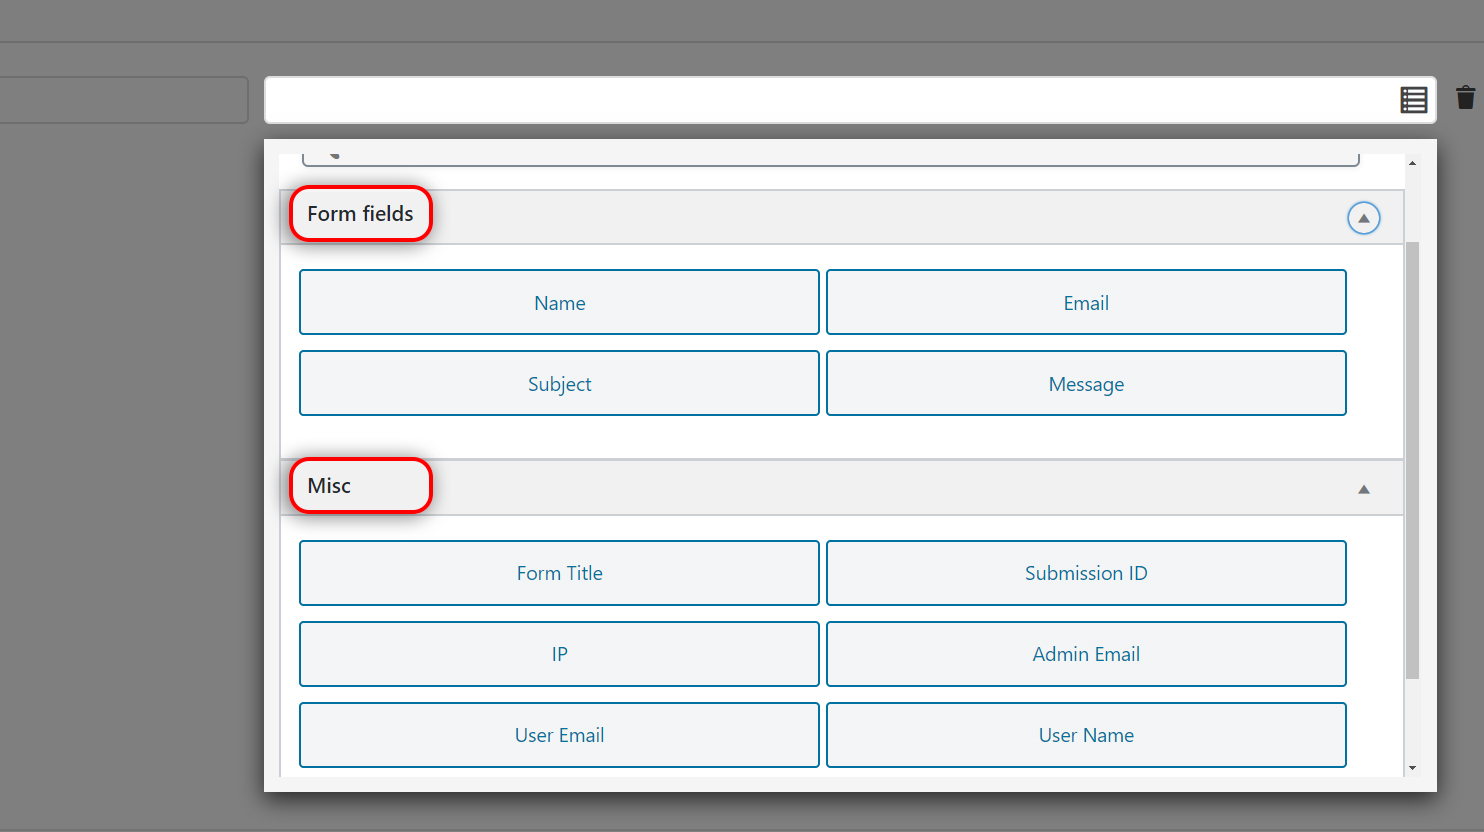
To add a field, click on Add Field.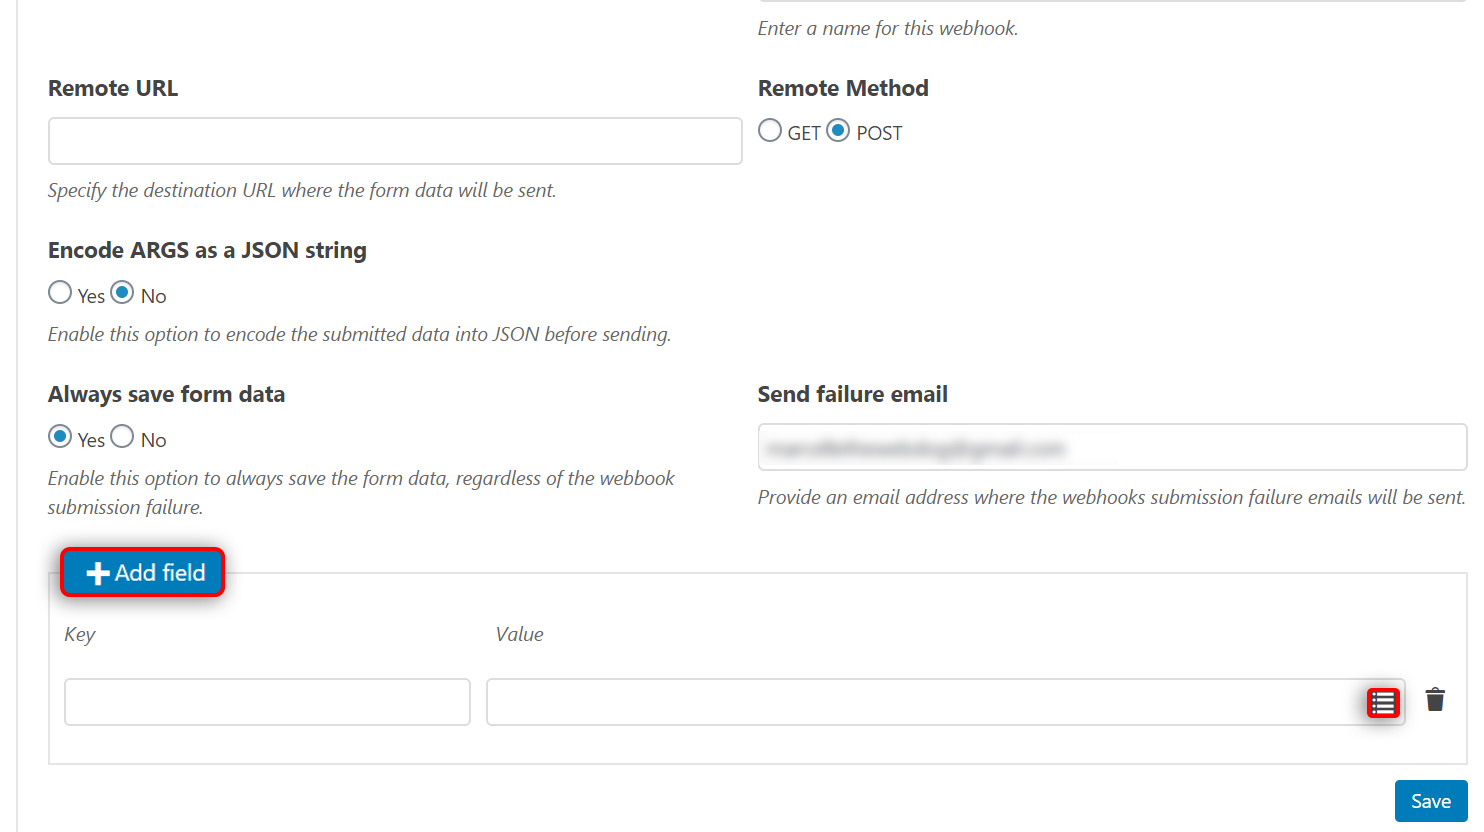
Type in the key of the field, then click on the list icon under the value field and click the corresponding key name. Click on Add Field and repeat the same process until you have added all the fields that you need. When you are done, click Save.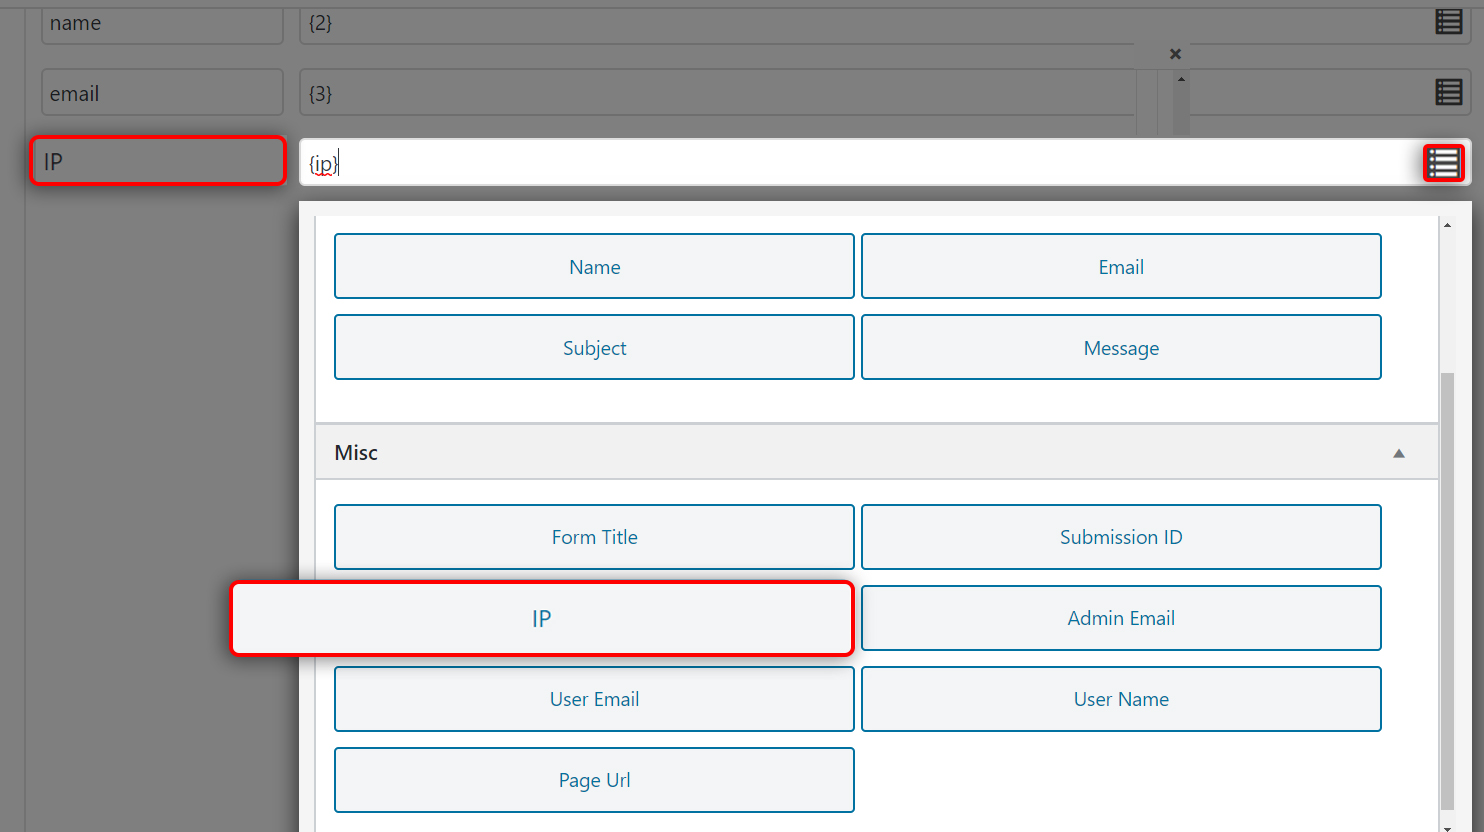
The data of the fields you have chosen, will be sent to the URL that you provide in the Remote URL field.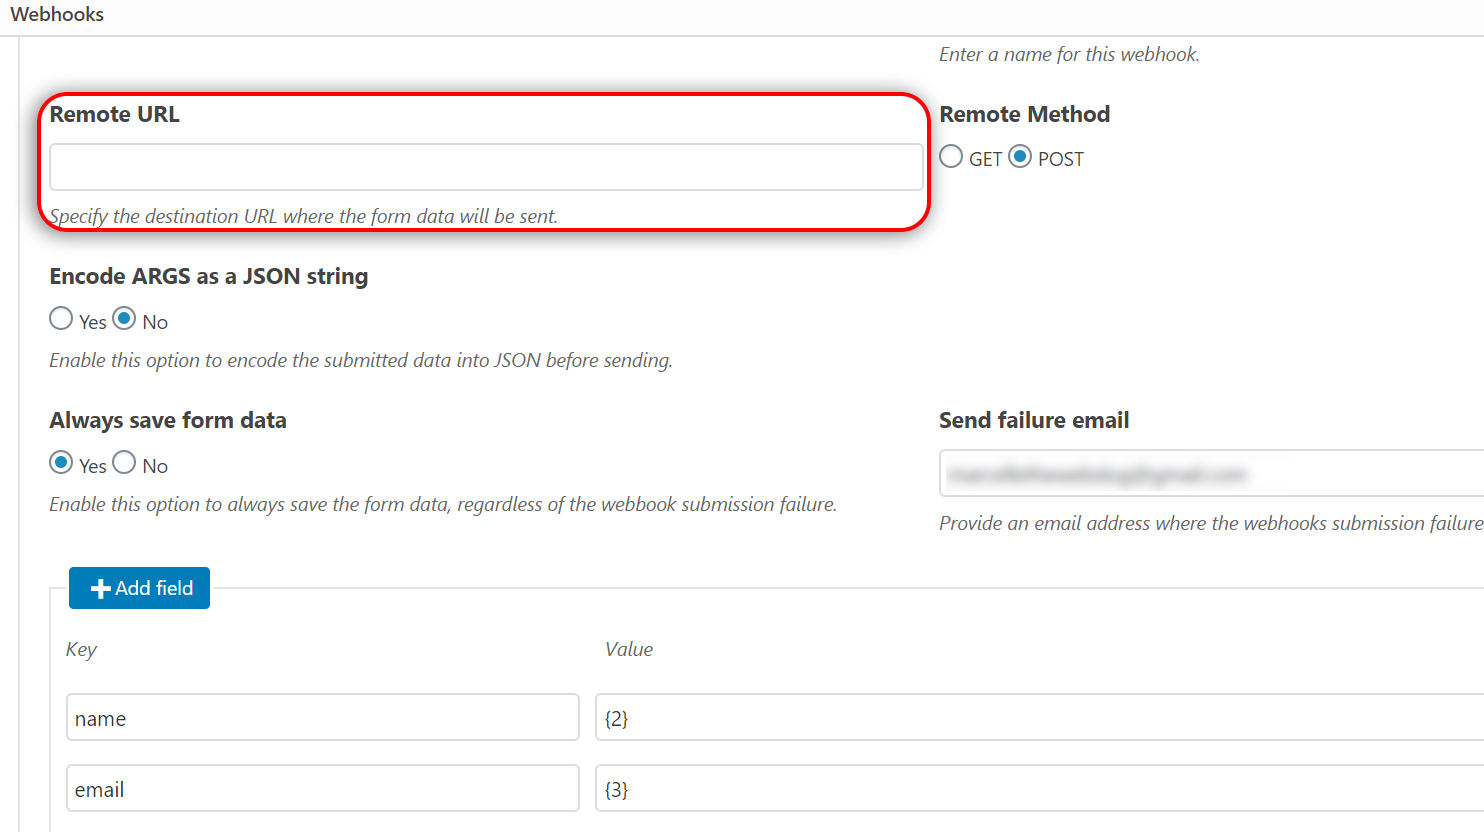
Once all the information has been filled in, press save.