Photo Gallery plugin lets you publish your galleries and gallery groups using the following 3 methods:
- on WordPress pages or posts using shortcode,
- as widgets (Photo Gallery, Slideshow and Tags Cloud),
- on a custom template with a PHP function.
How to Use tab of each gallery or gallery group provides a simple guide for these publishing options provided by the plugin. Let’s go through each method and publish the entries you have created with Photo Gallery.
Publishing Photo Gallery on Pages or Posts
To publish a gallery or a gallery group on a page or post after generating a shortcode, navigate to Pages section of WordPress administrative dashboard first. Add or edit the page or post, and paste the shortcode on the necessary section.
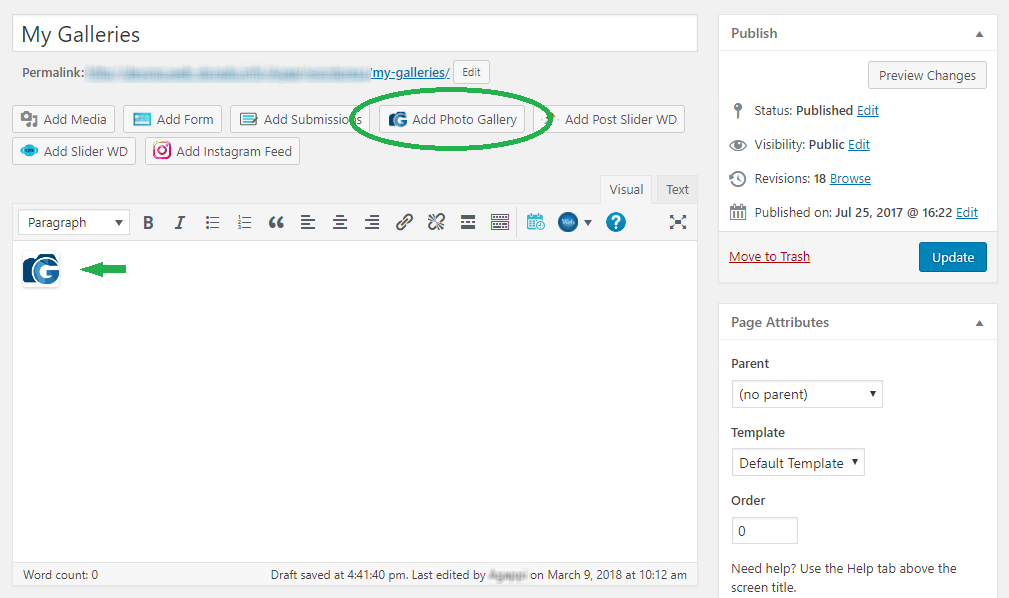
Alternatively, you can use Add Photo Gallery button to access Photo Gallery Shortcode toolbox and insert a shortcode after configuring its options.

Make sure to save the changes on the post by pressing Publish or Update.
Publishing Photo Gallery with PHP Function
As you generate a shortcode for your gallery or gallery group, a PHP function will be provided additionally. You can use it to place your gallery or gallery group on a custom PHP template.
It is necessary to simply add the function, e.g.:
<?php photo_gallery(26); ?>
into the custom .php file. For example, in case you need to display your gallery along with the header of your site, simply add the PHP function to header.php file of the website theme.
This function is also available under How to Use section of galleries and gallery groups. You can copy it from PHP code column.
Adding Photo Gallery Widgets
Photo Gallery plugin provides the following 4 types of stunning widgets, which you can place on the sidebars, footers and other widget areas of your website:
- WordPress Standard Tag Cloud,
- Dynamic Photo Gallery Tags Cloud,
- Photo Gallery Slideshow,
- Photo Gallery widget.
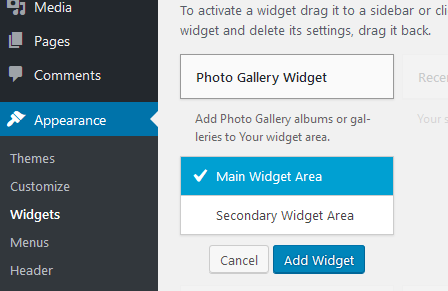
To place one of the above on your website, navigate to Appearance > Widgets page of its WordPress administrative panel. Search for the widget you wish to add, then drag it to the necessary widget area. Afterward, configure its settings and press Save.

We will discuss all widget types and their options in further sections of this user guide.