Are you a Dropbox user and would like to save storage space and upload form attachments to Dropbox? Dropbox Integration extensionof WordPress Form Maker plugin extends the features of Form Maker plugin, allowing you to store the uploaded files straight to your Dropbox account.
As you complete the integration, the extension automatically creates a Form Maker folder on your Dropbox account with subfolders for each form. This helps you keep the uploaded files organized and neat.
Attention: Dropbox Integration extension requires Form Maker Premium version 2.7.77 or higher. If you are using an older version, please update your plugin.
Enabling Dropbox Integration
Install Dropbox Integration extension by following these steps. After activating the add-on, access WordPress administrative dashboard of your website and navigate to Form Maker > Forms page. Edit your form, then go to Form Options > Dropbox Integration section. Enable the feature to begin configuring the respective settings.

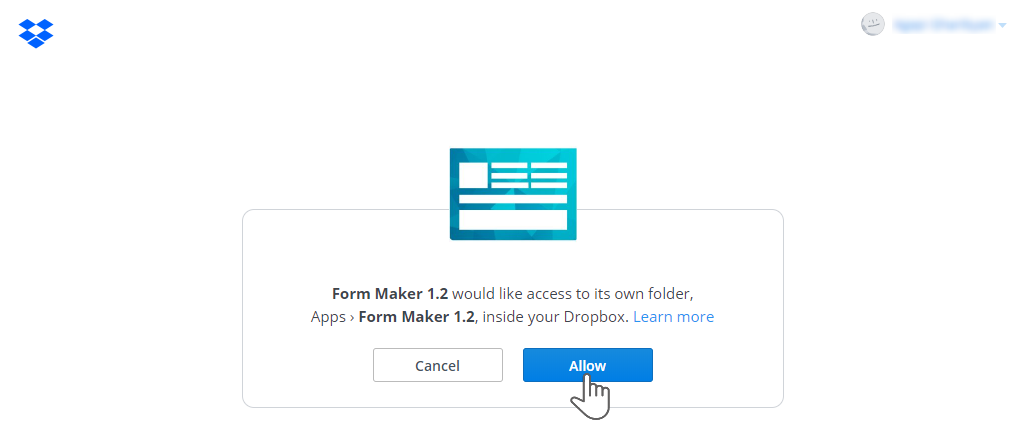
First, press Authorize to authenticate your Dropbox account. Afterwards, click Authorization link. You will be redirected to your Dropbox account, where you should sign in. After this step, a message will appear asking you to permit Form Maker plugin to access its own folder. Form Maker folder will be created under Apps directory, and will be used for storing form uploads. Press Allow to authorize your Dropbox account.

As you press Allow, a pop-up box will appear, providing you with an authorization code.

Copy the code and paste it in the corresponding input box of Dropbox Integration Extension. To finalize the authorization, press Confirm.

Note: Authorizing Dropbox Integration add-on will only allow it to access Dropbox > Apps > Form Maker folder and store the attached files in its subfolders.
After the authorization process is finished, the details of the Dropbox user will appear under Account Info section. In addition, the list of the uploaded files from your form to Dropbox will be shown at the bottom.

As you have enabled Dropbox Integration, you may wish to skip storing the uploaded files on your website. You can disable this from Form Options > General Options of your form. Find Save Uploads option and set it to No.
Using Selective Upload
Enable Selective Upload option allows you to store the form attachments in one or more subfolders. This can be handy, in case you have multiple File Upload fields and would like to save the files of each field into the corresponding folders. Activate this option and provide the Folder Name first. Afterwards, use Field drop-down box to select the necessary File Upload field.
As users submit the form, the specified subfolders will automatically be created inside the directory of your form on Dropbox. Press Upload (+) button to configure another folder.

After configuring Dropbox Integration options, make sure to press Update to save the changes. You can Disconnect your Dropbox account anytime to stop storing the uploaded files.