WordPress slider plugin provides powerful layer options, which help you enhance the display of your slideshow. This section of Slider user guide will help you add them to your slides and fully customize them.
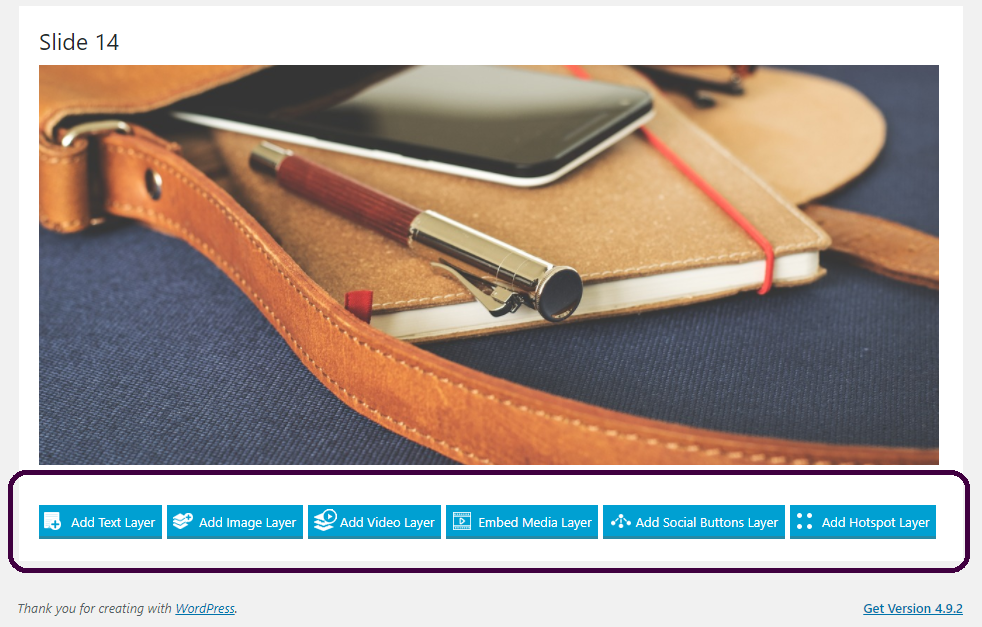
The plugin is tuned up with the following types of layers, which can be added to each slide multiple times:
- Text, allowing you to display a text block on your slides,
- Image, which lets you place an image layer over the slide background image,
- Video, which you can use to add a self-hosted video on the slide,
- Media Embed, that adds YouTube, Vimeo, Instagram, Flickr, and Dailymotion media as slide layer,
- Social Buttons, letting you place Facebook, Google+, Twitter, Pinterest, and Tumblr share buttons on your slides,
- Hotspot, which adds an animating spot to slides. It displays additional text when users hover the hotspot, and you can also add an onclick link to it.
Click on a slide you wish to edit, and the layer buttons will appear under the main image. Press the one you wish to add to the selected slide and let’s begin customizing its settings.

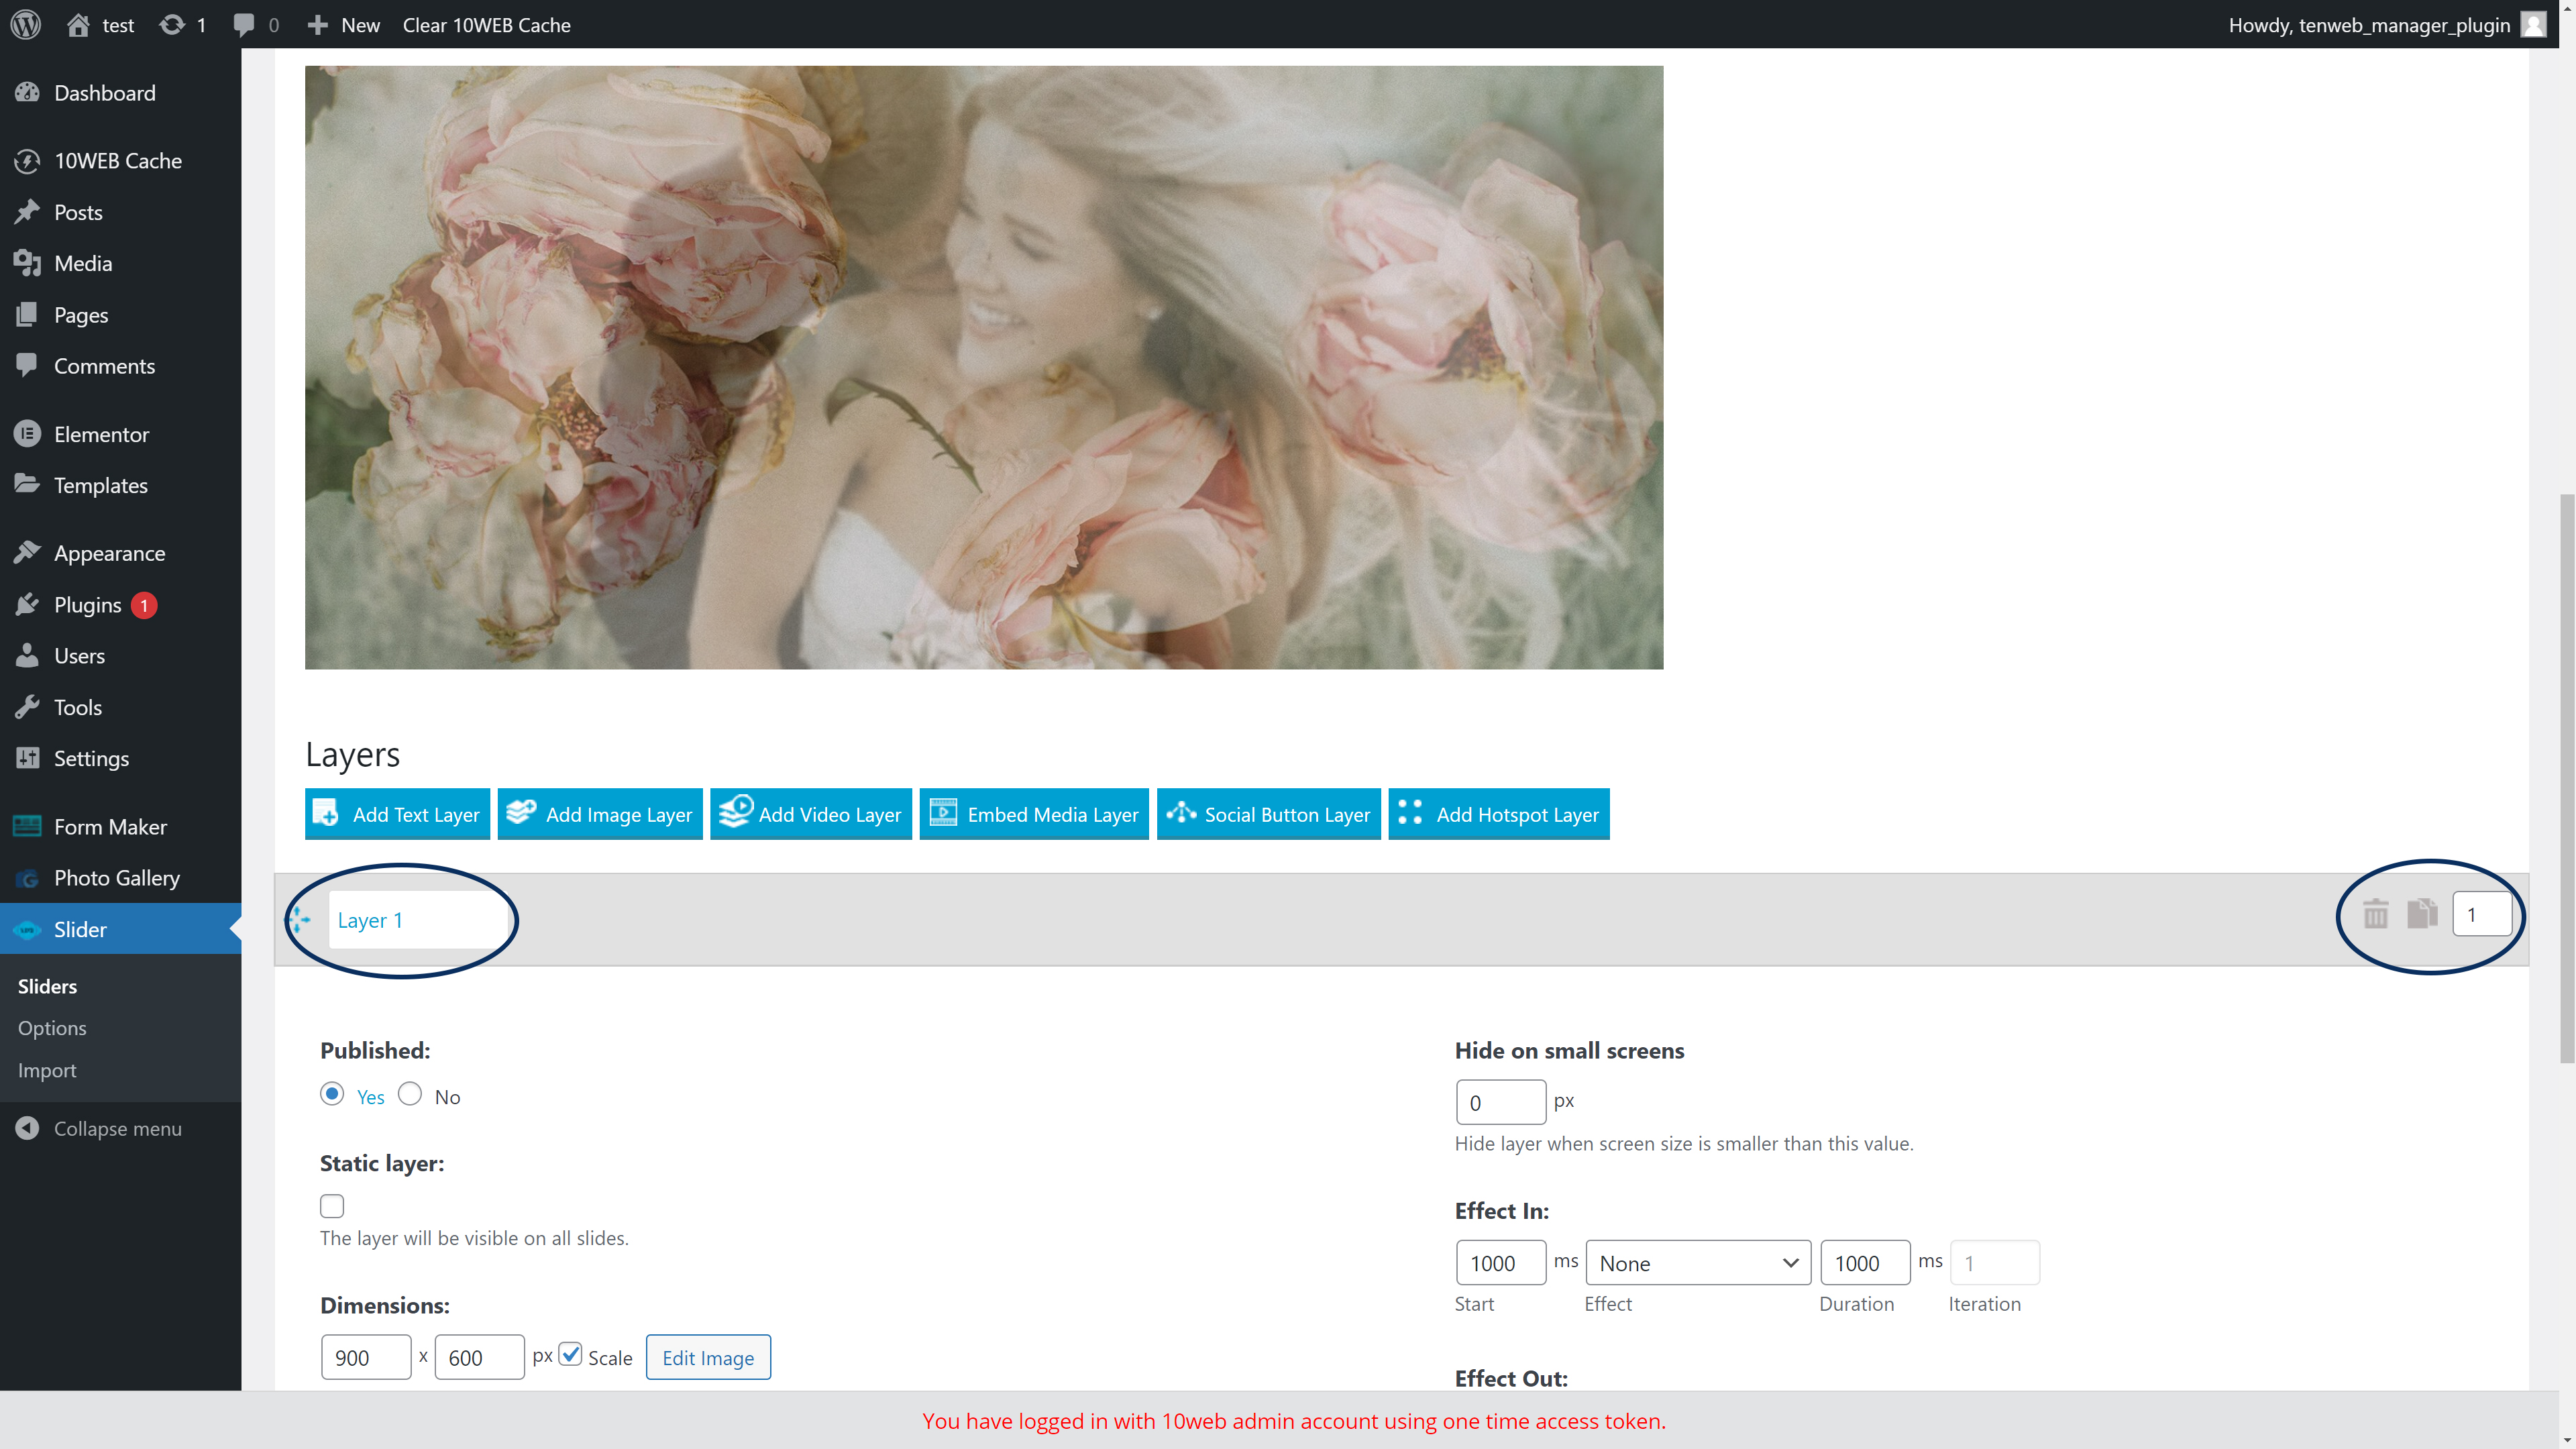
After a layer is added, a new toolbox becomes available, providing various customization options. Using the top bar, you can:
- reorder the layer using drag-and-drop feature,
- edit the title of the layer,
- delete or copy it,
- change its order number.

Click on the gray bar to expand and edit all options of the layer. This section of user-friendly tools allows to fully personalize each layer. You are able to implement modifications such as:
- specify the dimensions of layers,
- set their positions on slides,
- configure slide in and slide out animations effects,
- modify their color, font style, transparency,
- choose to hide the transparency on small screen sizes
- add unique classes for layers,
- set links on each layer,
- configure various on-click actions, such as playing/pausing slideshow,
and much more.
It is important to note, that Slider plugin also allows you to reposition layers by dragging them around on the slide itself.