WordPress Slider plugin comes with a set of useful options which allow you to customize each slideshow independently. Having configured slideshows separately, you can publish multiple sliders on your website, each with its own unique design and purpose.
Navigate to Settings tab of your slider to begin configuring its options.
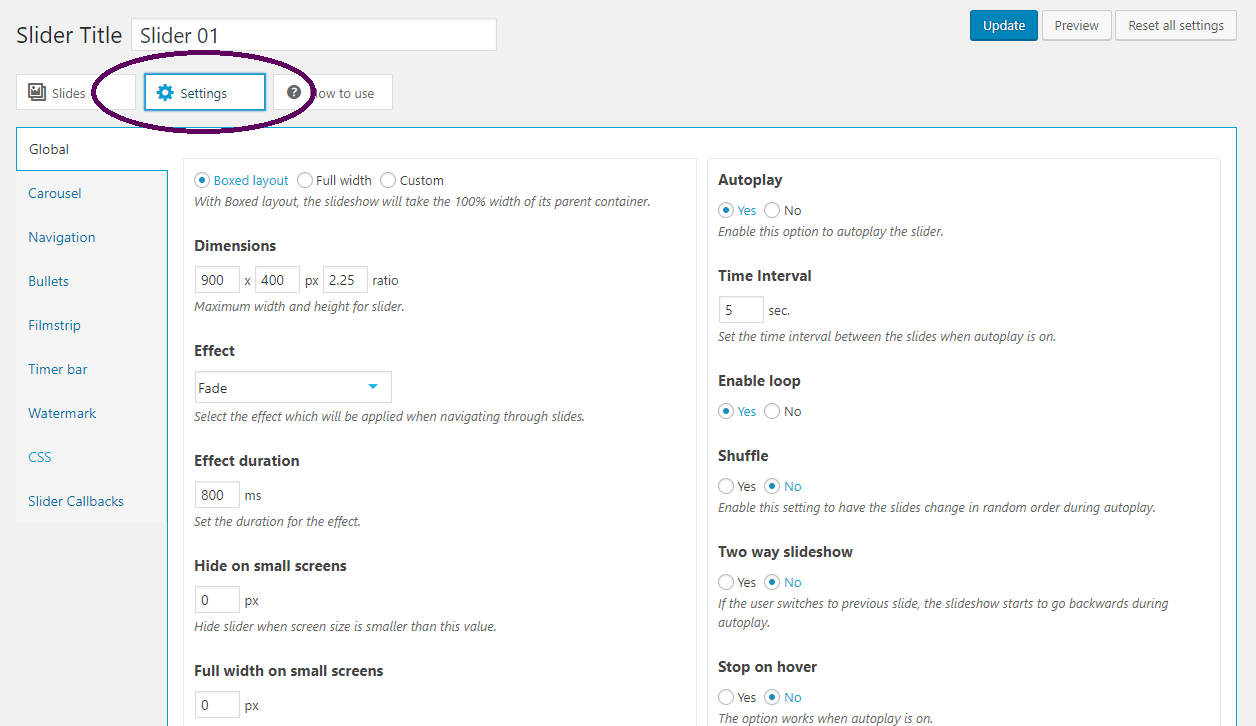
This toolbox consists of the following sections, each providing its own pack of user-friendly options.
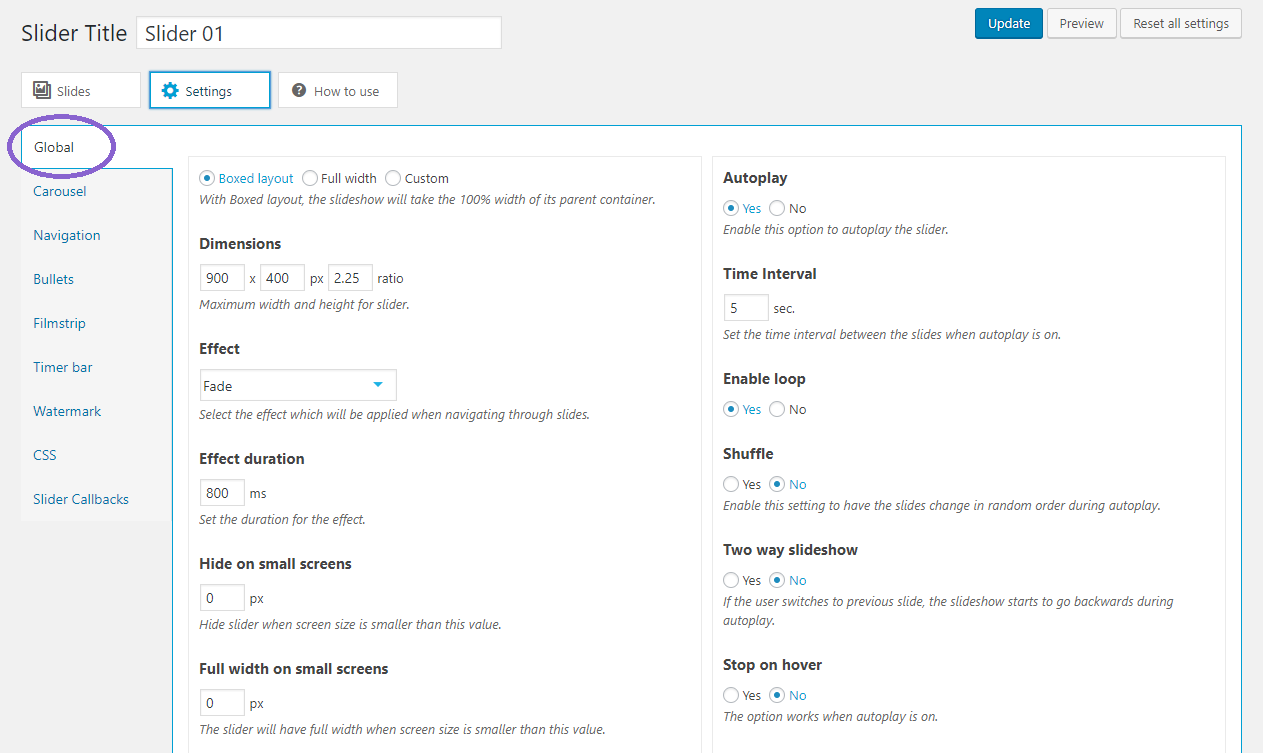
Global
Global tab of Slider Settings includes general options for the slider. You can personalize the way your slider behaves and shows. You can:
- modify its display type and dimensions,
- set animation effect and its duration,
- specify slider looping and shuffling settings,
- change slideshow behavior on desktop and mobile devices,
- set music to play along with the slider,
- enable parallax effect for the slider, and much more.
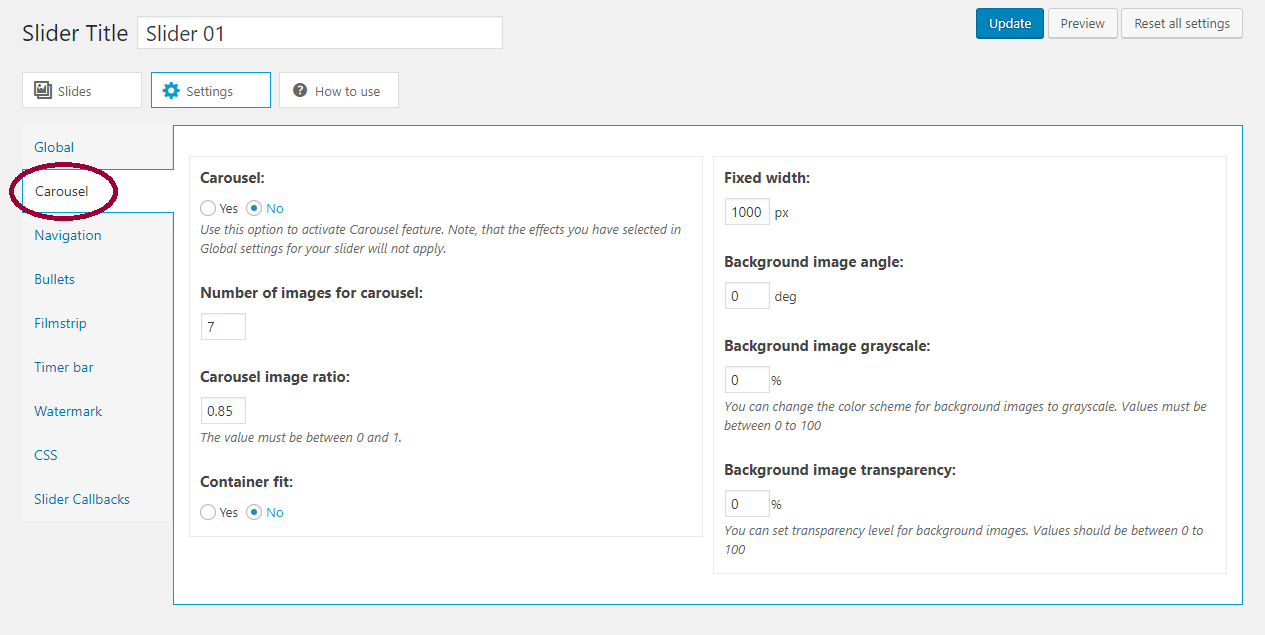
Carousel
Have your slideshow appearing in Carousel mode by activating it from Carousel tab of Slider Settings. With these options, you can personalize the display of your slider carousel. You are able to:
- change the number of images shown on carousel,
- set the ratio of carousel image dimensions (width divided by height),
- edit the styles of carousel background image,
and more.
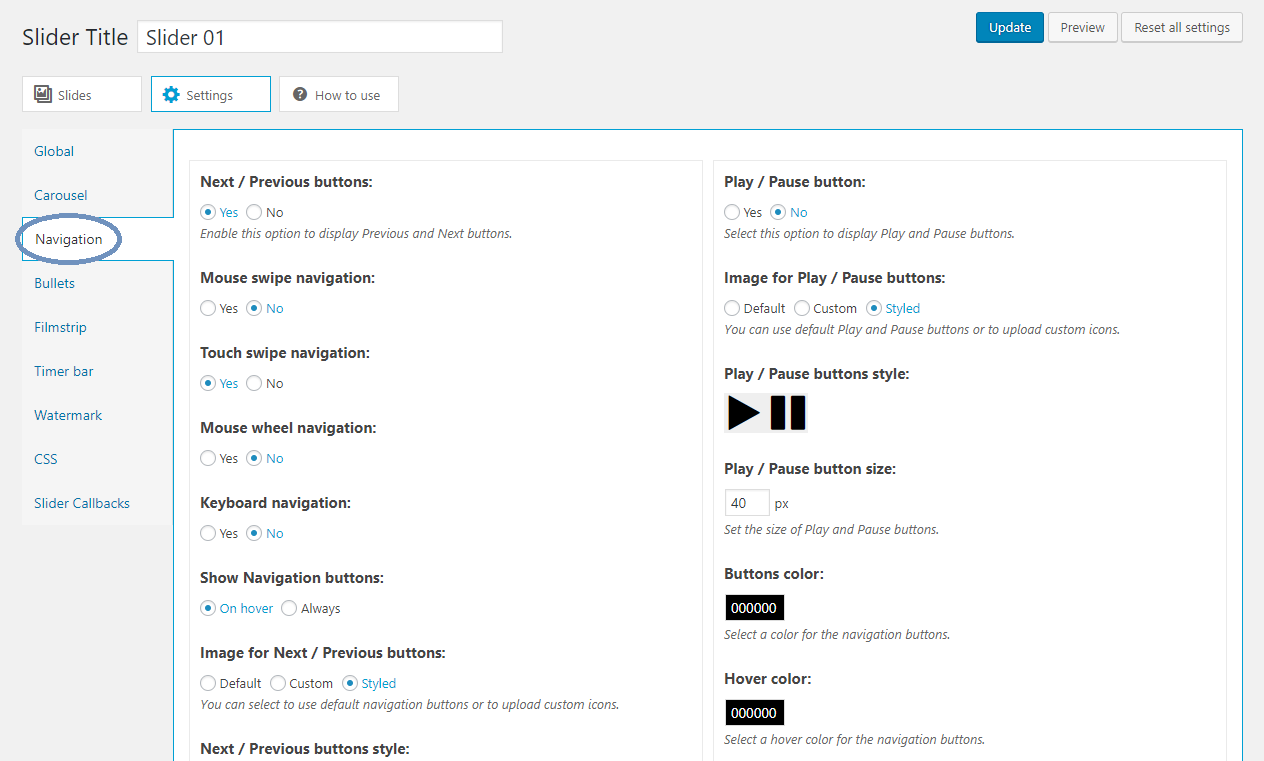
Navigation
Completely customize the way your slider navigates using the tools provided in Navigation section of Slider Settings. You are able to switch on:
- mouse-click navigation (Next/Previous buttons),
- mouse-swipe and mouse-wheel navigation,
- touch-swipe navigation on mobile devices,
- keyboard navigation with next/previous keys,
- on-slider Play / Pause buttons,
as well as activate navigation buttons for your slider and style every attribute as you wish.
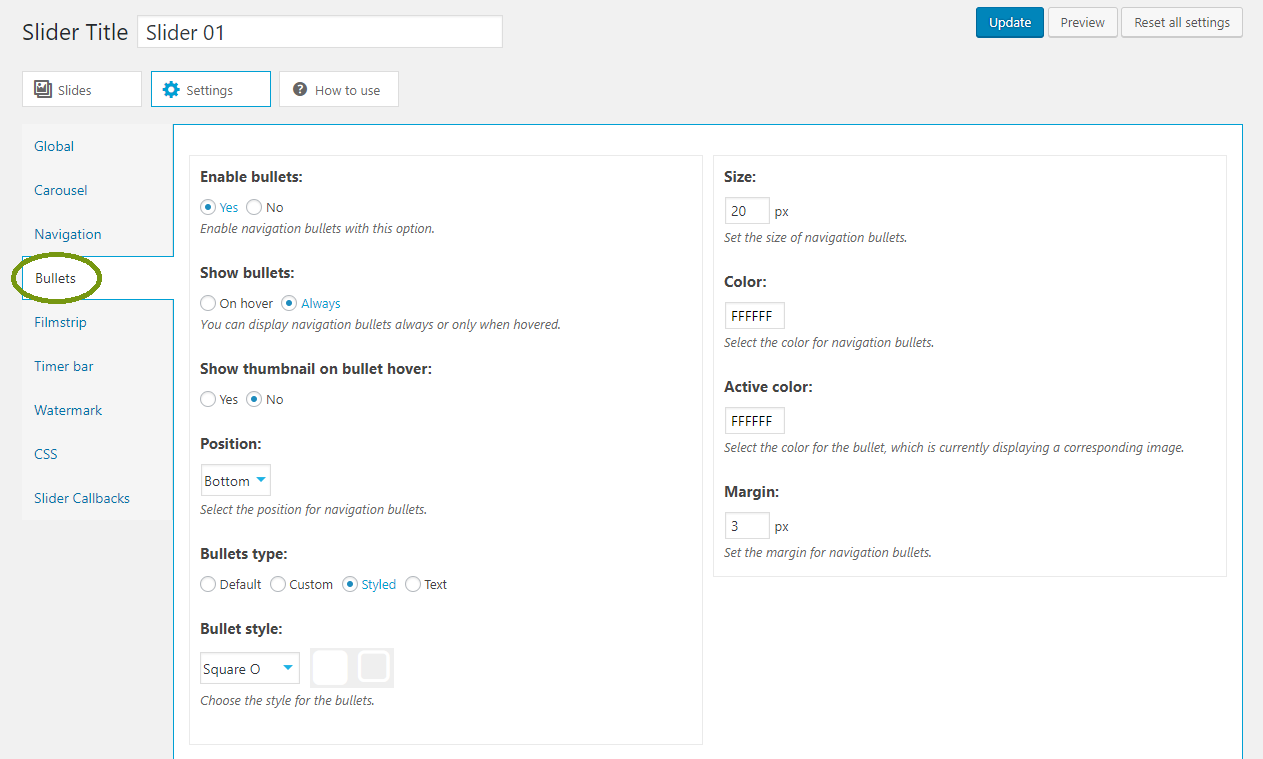
Bullets
Place bullets on your slider by activating them from this section. This feature lets users to easily navigate from one slide to another in a random sequence. This set of options lets you:
- select to show bullets on hover or always,
- set the position of slider bullets,
- choose color, size, and margin for them,
- customize the bullets by uploading your own images, and more.
Filmstrip
Display a nifty filmstrip of slide thumbnails along with your slider. This is a neat way to showcase miniatures of your slides before users click to view their larger versions. You can customize the filmstrip by:
- changing its position on the slider,
- setting background color and inactive thumbnail transparency,
- specify thumbnail dimensions and separator size,
- customize the border of the active thumbnail
- hide the filmstrip on small screen sizes

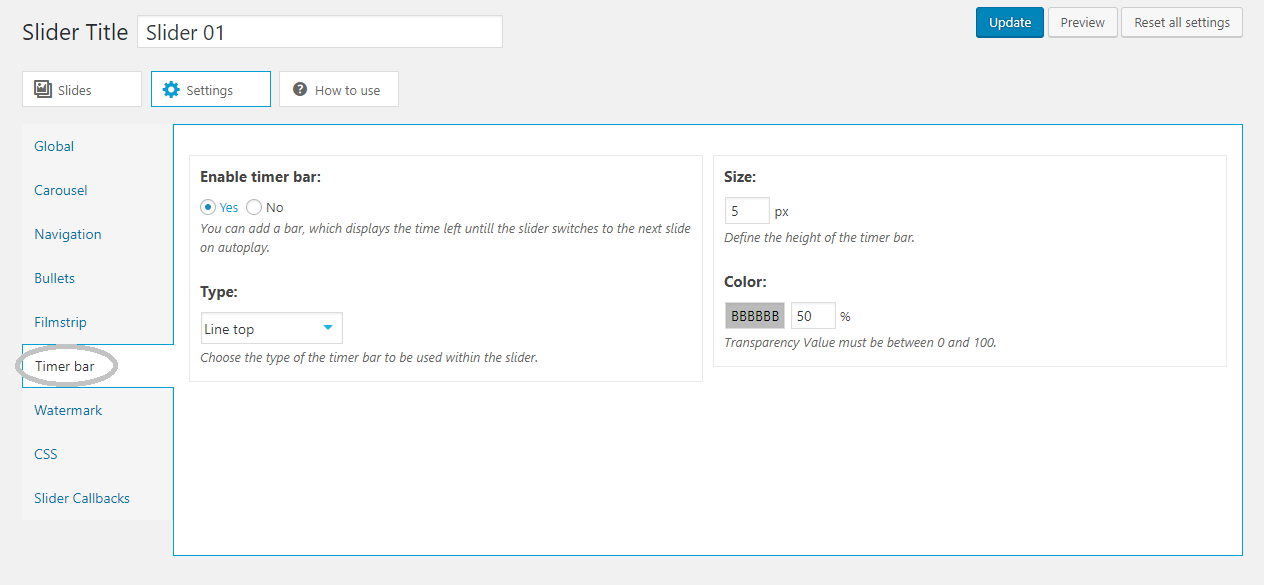
Timer bar
Activating Timer bar lets you have a neat loading bar with each slide. The loading bar starts every time a slide displays and ends when the slideshow switches to the next image during autoplay.
You can customize the type of the Timer bar, as well as its size, color, and transparency.
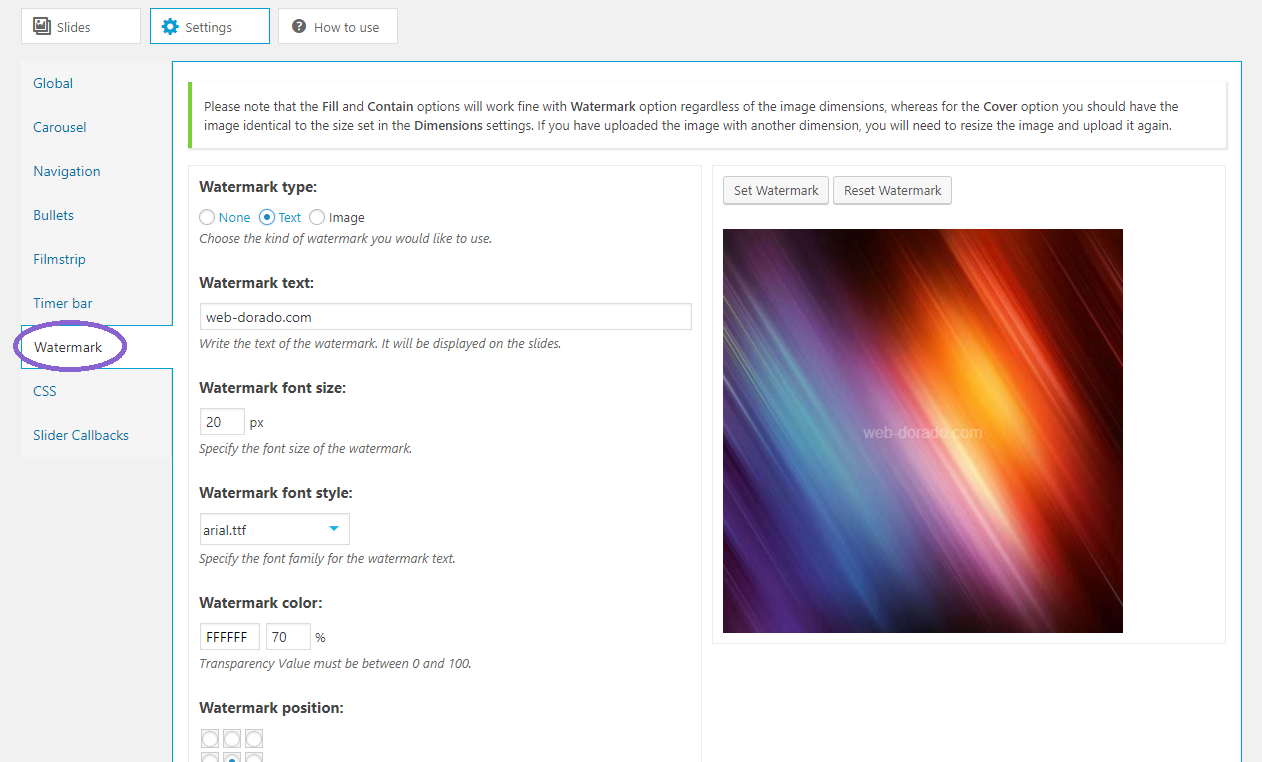
Watermark
You are able to add watermark to the main images of your slider with the options Watermark section provides. Choose the type of the watermark, text or image, then configure settings such as:
- providing watermark text or image URL,
- specifying font size, font style, and color of watermark text.
- setting the size of the watermark image,
- and select the position of the watermark.
Press Set Watermark to add the watermark text or image to main images of your slider. To remove it, simply click on Reset Watermark button.
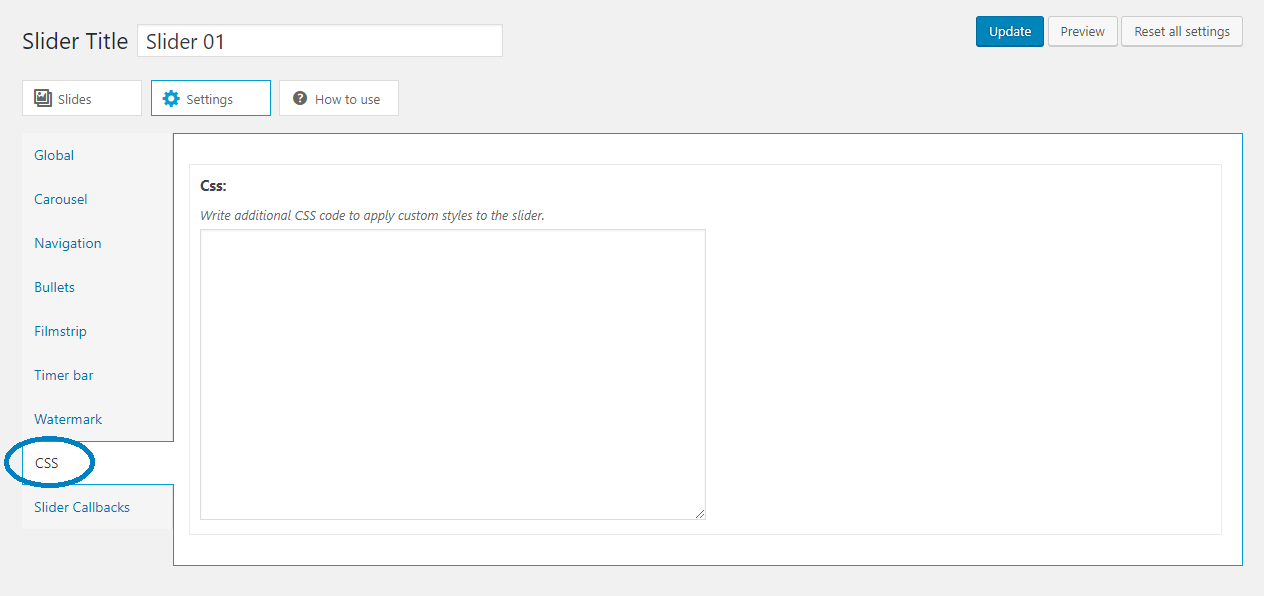
CSS
Use CSS tab of Slider Settings to write additional CSS code and apply custom styles to the slideshow. Note, that these changes will override the original styles of the slider.
Slider Callbacks
Slider Callbacks allow you to call your own Javascript function when a certain action occurs. Press the Plus (+) button and a text box will appear, allowing you to write your script.
You can call the script:
- on slider Init,
- on slide change start,
- on slide change end,
- on slide play,
- on slide pause,
- on slide hover,
- on slide blur,
- on slider resize,
- on swipe start.
Make sure to select the desired action for your Javascript code, then hit Update button to save Slider Settings.
