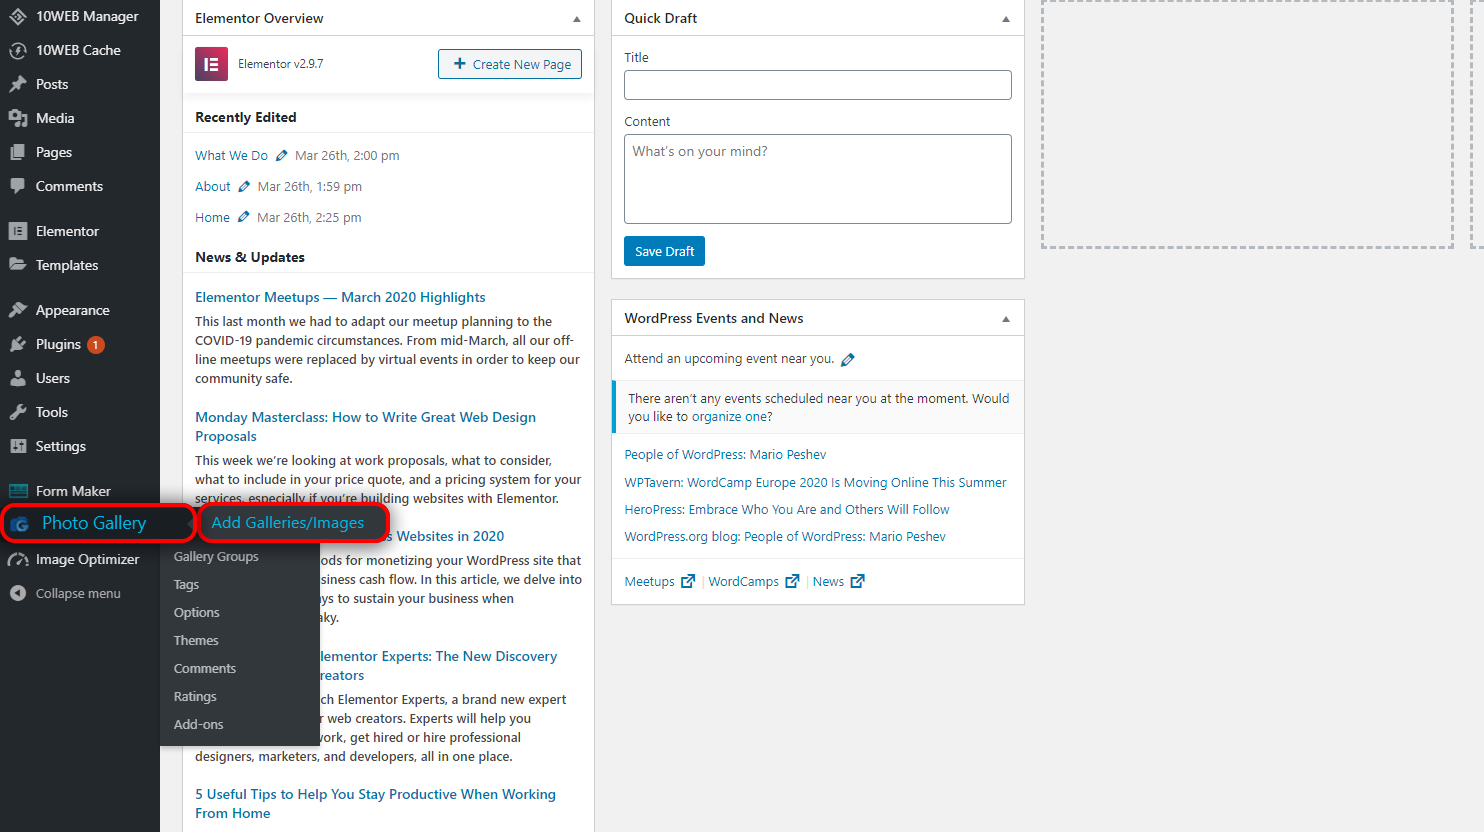
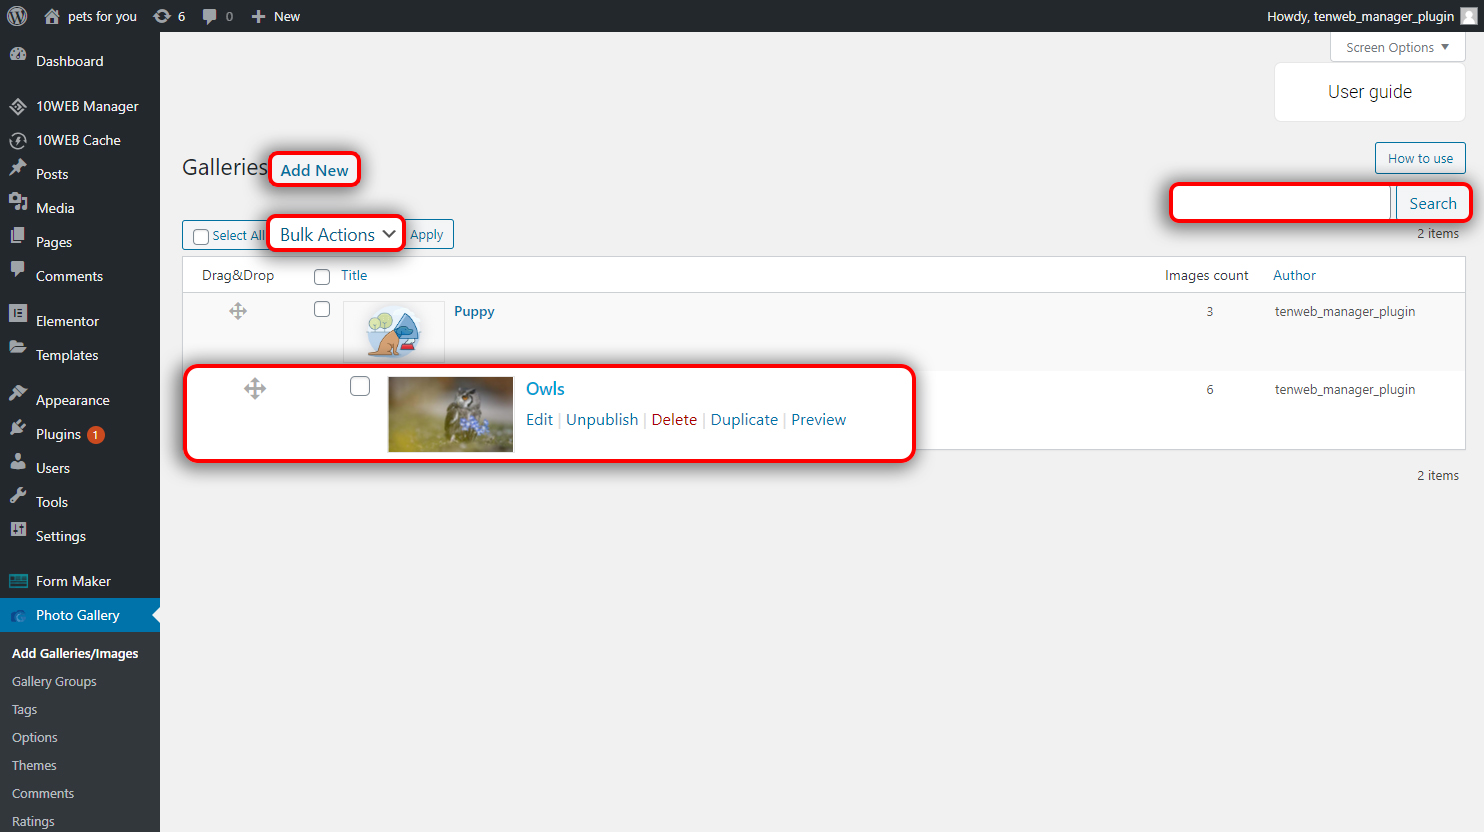
To start creating your first responsive gallery, go to the WordPress admin dashboard of your website, hover over the Photo Gallery plugin and click on Add Galleries/Images. This section contains a list of the galleries you've created.
You can search for a specific gallery in the Search field located at the top right corner of the dashboard, add a new gallery by clicking on Add New at the left corner of the dashboard, then hover over your chosen gallery to take more actions such as:
- Publish
- Unpublish
- Delete
- Preview
- Duplicate
You can apply these actions in Bulk or to a Single gallery.
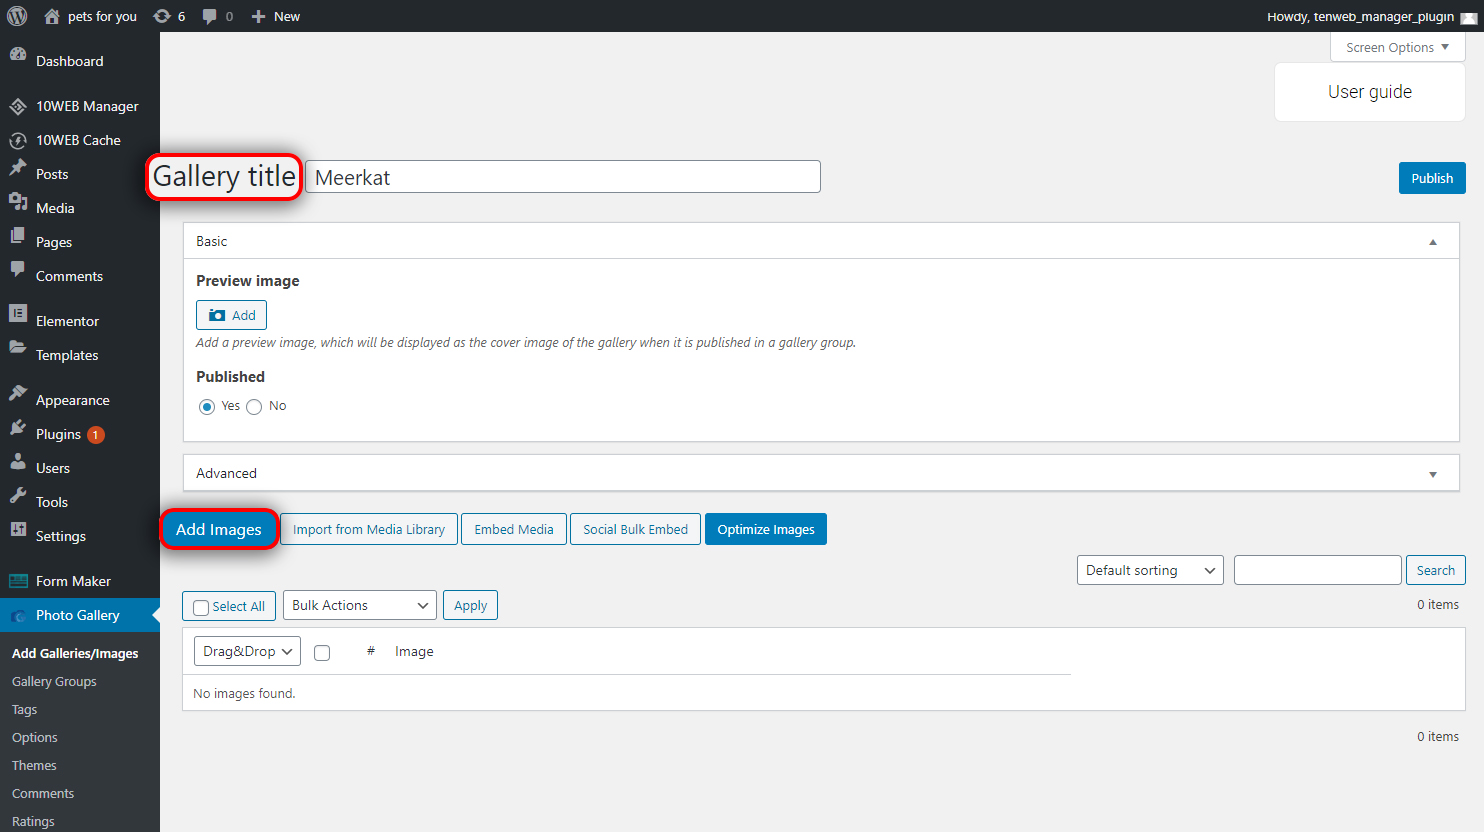
Click the Add New button to begin building a gallery. Provide a Gallery title and let’s upload a few photos. Click on Add Images to open the Photo Gallery File Uploader (a comprehensive description of its features is provided in this section).
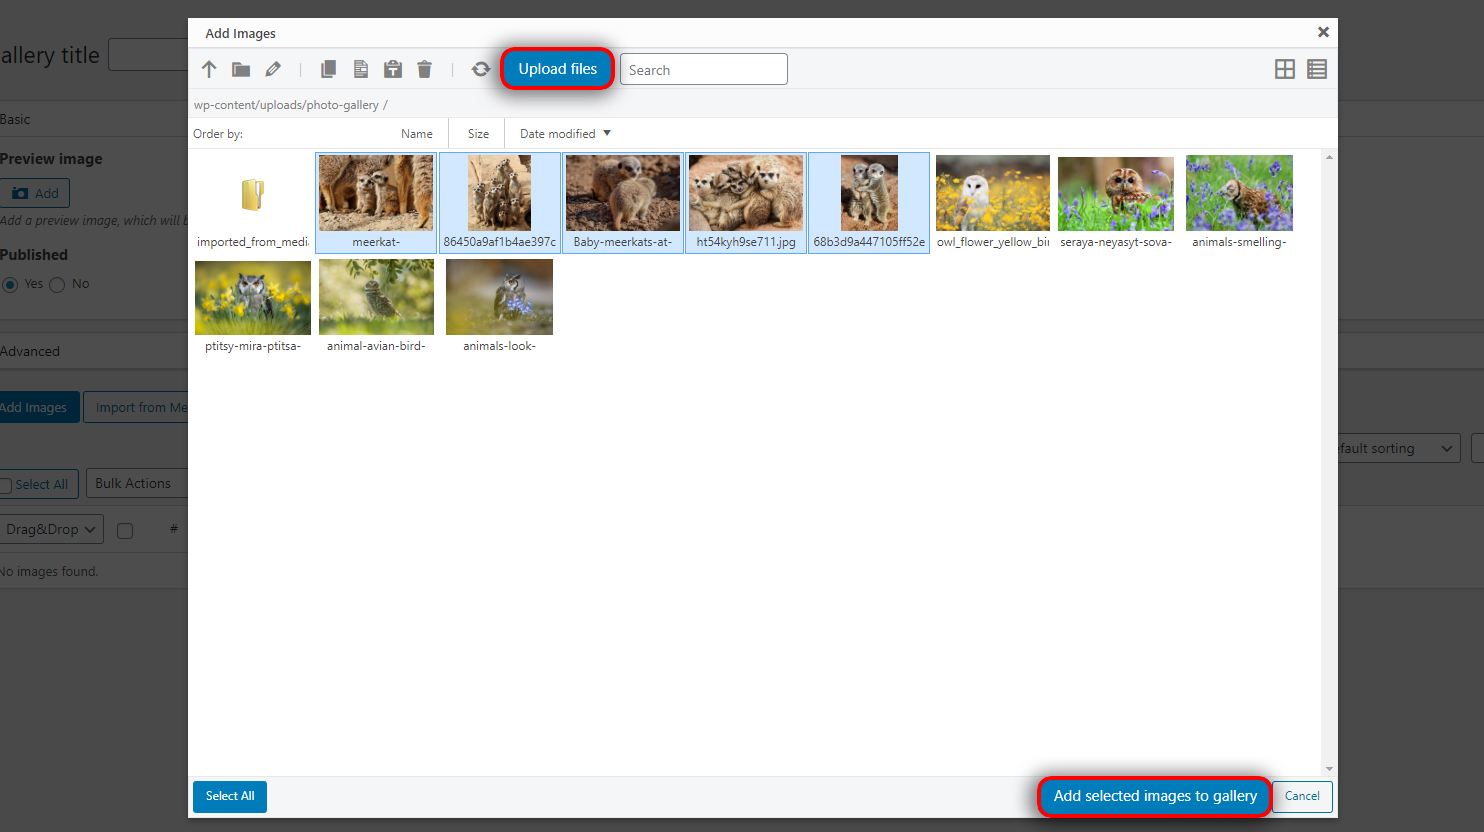
When you click Upload files, the following two options for adding images are provided:
- dragging photos from your computer and dropping them to the dotted area,
- clicking Choose Files button and browsing images from your PC.
The upload process will begin instantly, and when it’s finished, select the images by clicking on them while Shift or Control keys are pressed. Afterward, click on Add selected images to gallery.
Your photos will appear in the image list of your gallery. Now let’s configure the settings of the gallery.
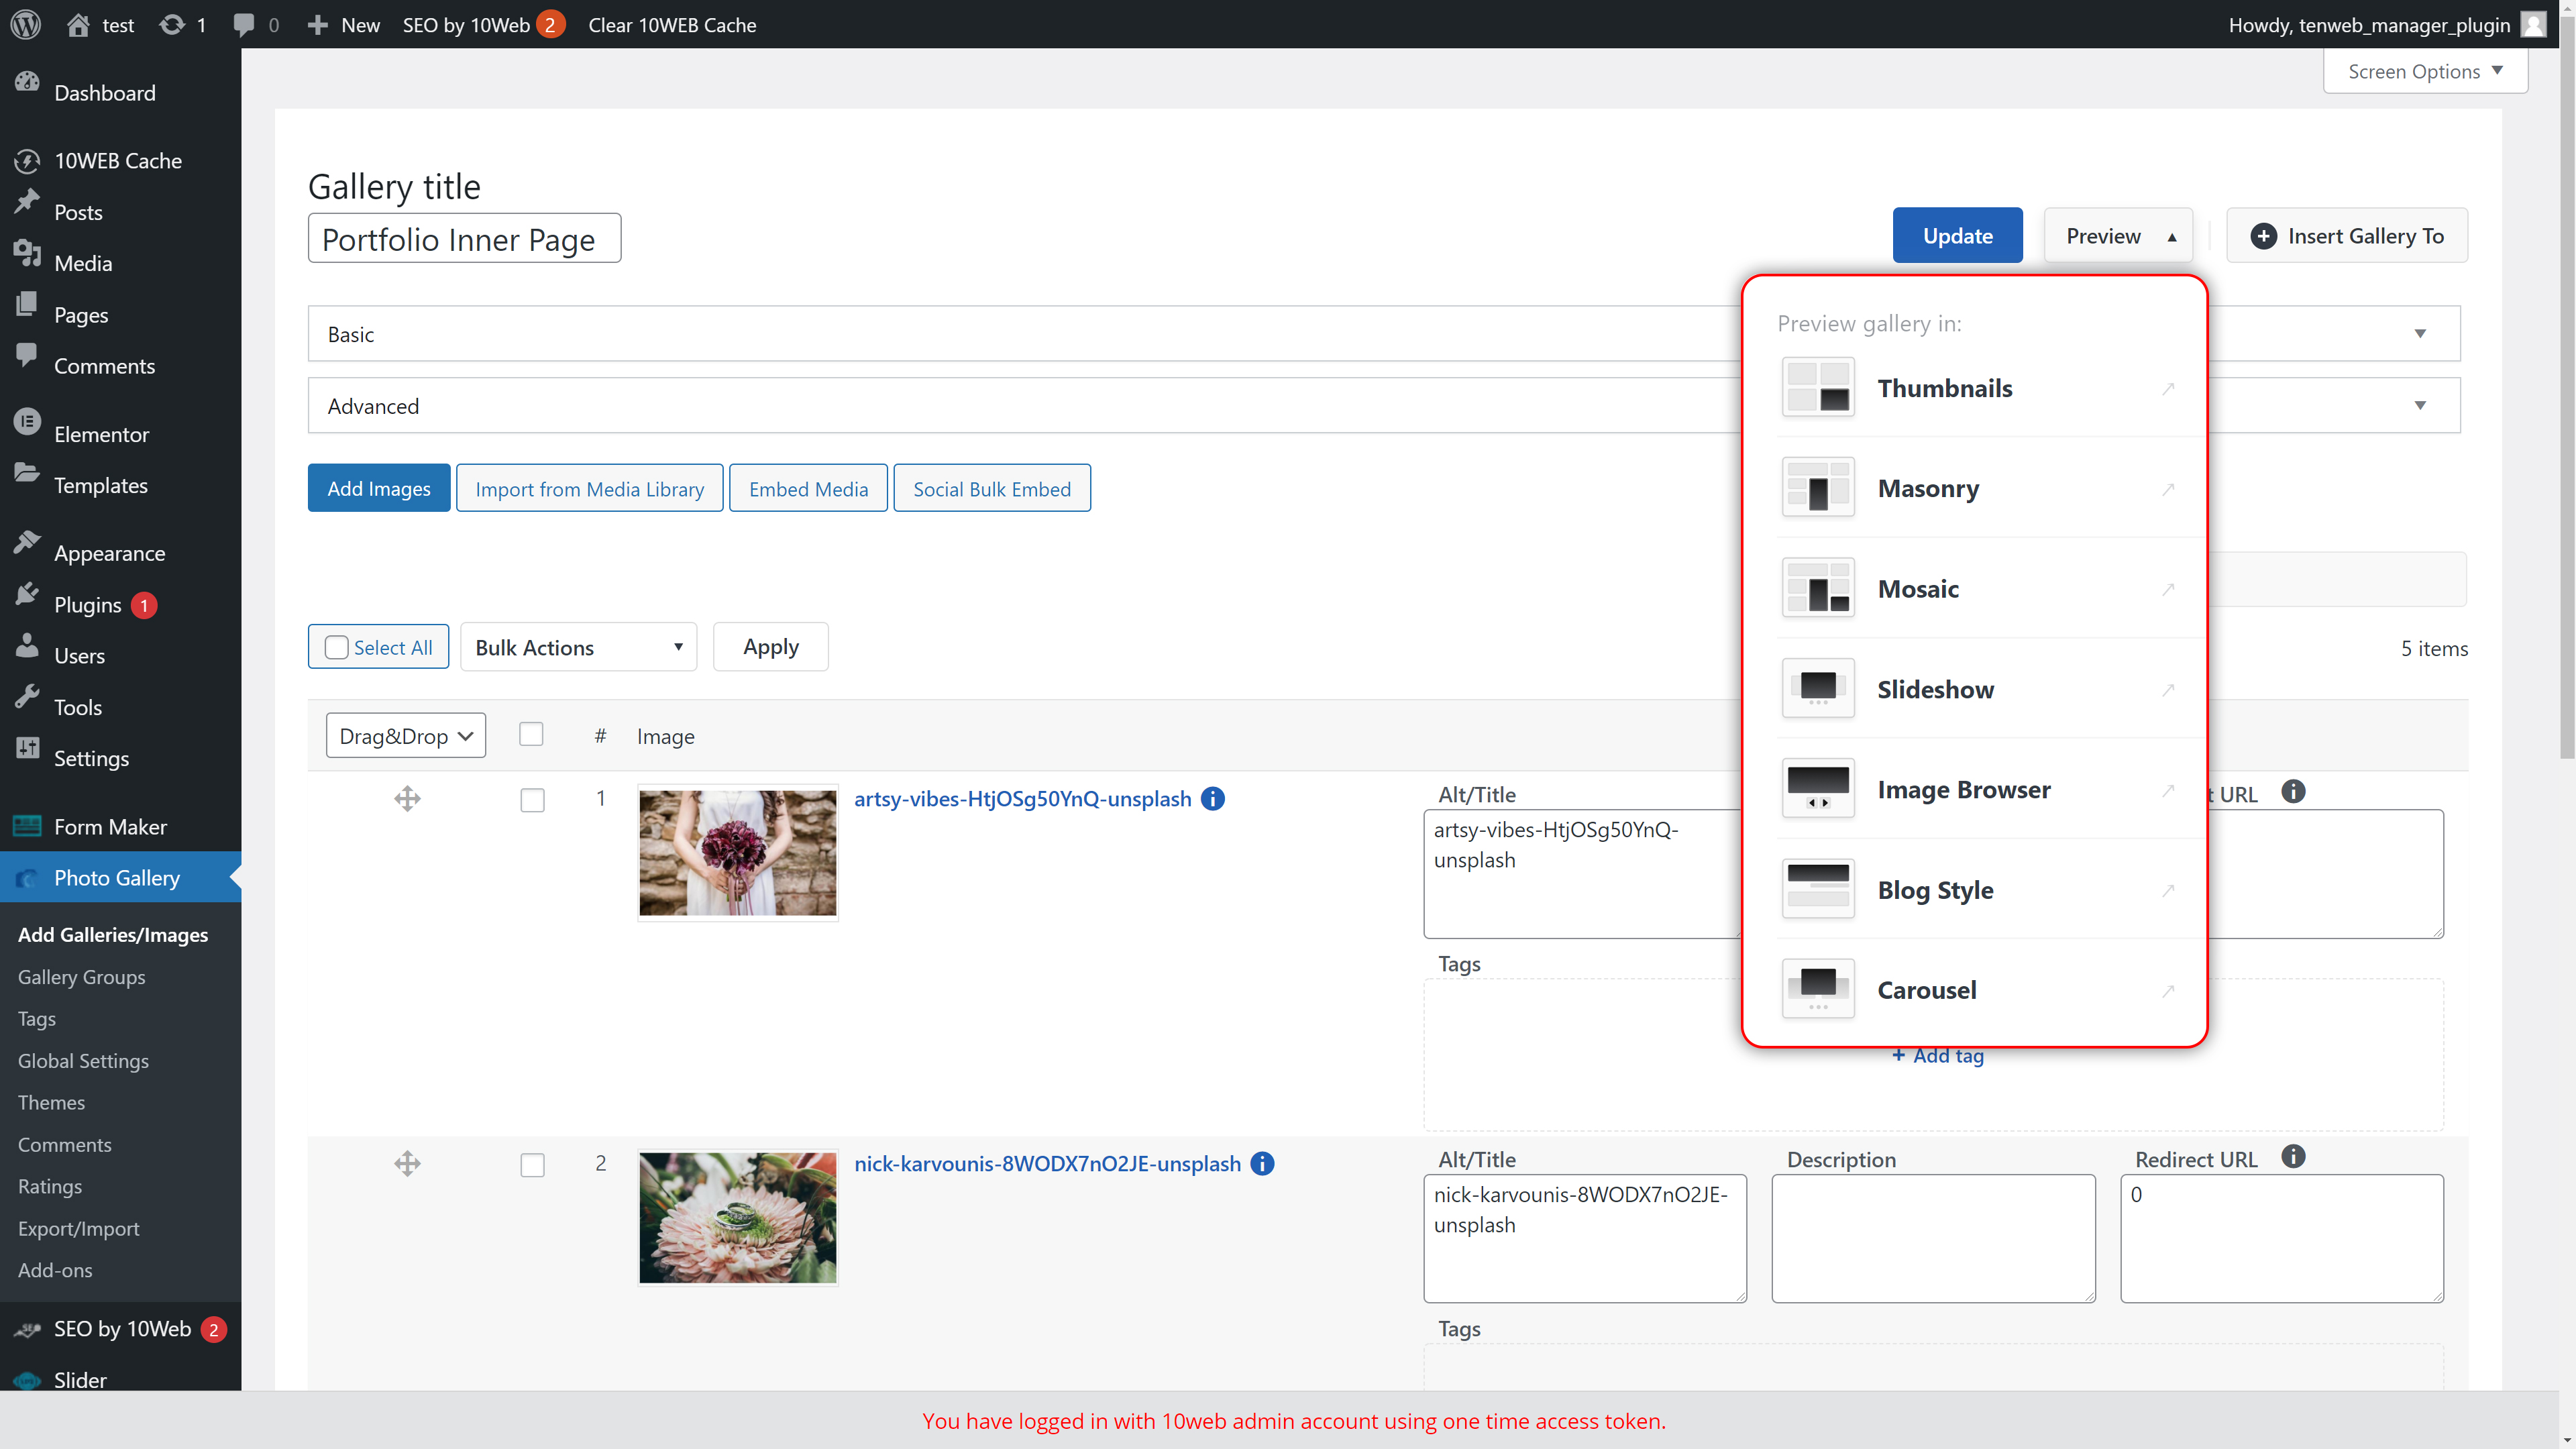
Once your gallery has been created, Basic, Advanced, and Preview options will be enabled.
Preview
This option will allow you to preview your gallery in the different layout stiles while you are building it.
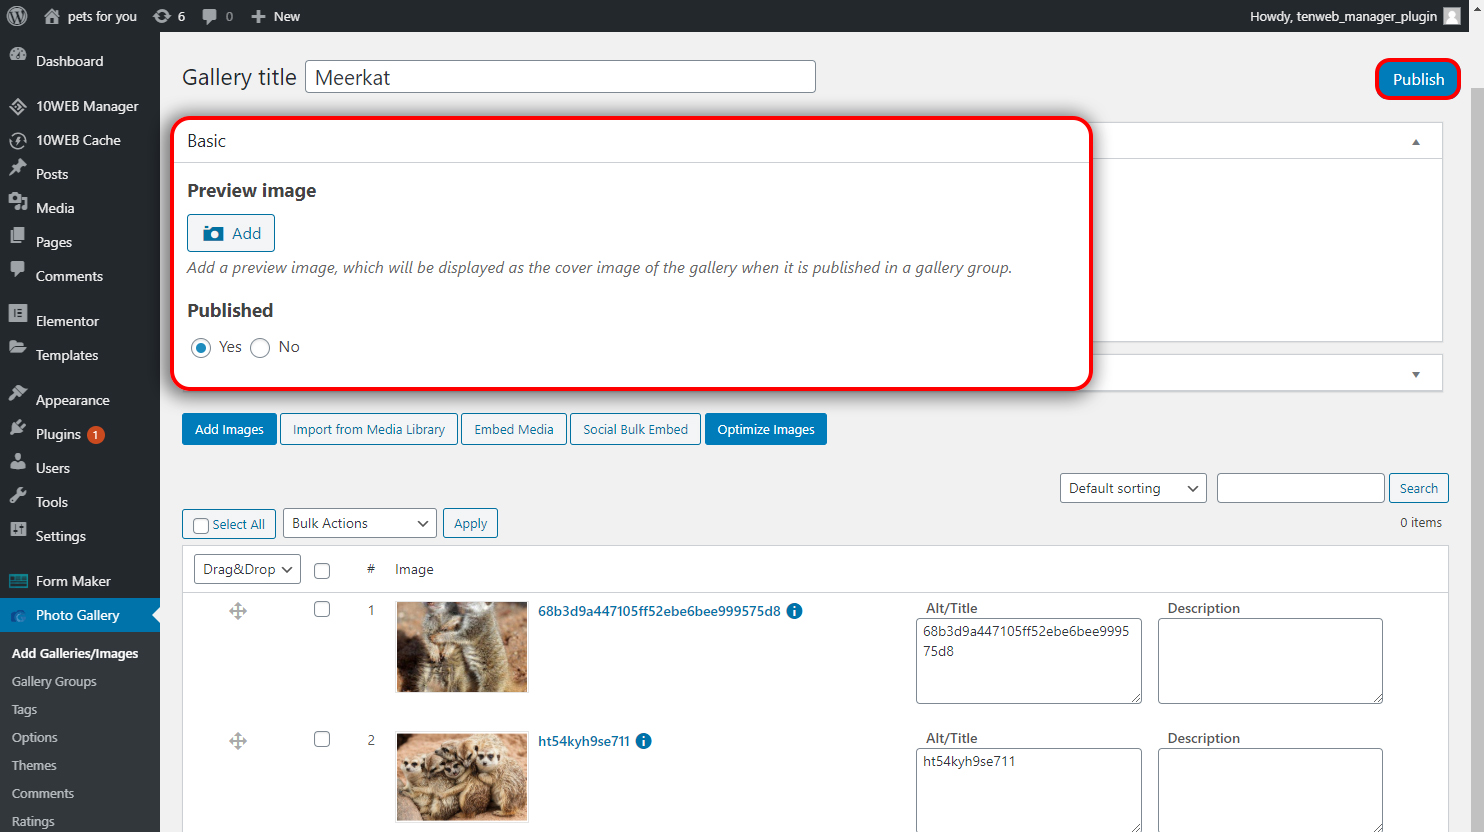
Basic
Click on the Basic bar to expand the toolbox of the basic settings. Here you will find two options:
- Preview image - This option lets you select a cover image for the gallery to display when it is published in a gallery group. If you leave this blank, the first image of the gallery will be used as its preview image.
- Published - You can use this setting to publish or unpublish your photo gallery. Note, that this will not make the gallery visible to users, unless you add it to a page, post or a widget area.
Advanced
Expand Advanced settings to begin configuring a few more options:
- Author - This setting allows you to check which WordPress user has created the gallery,
- Slug - Set a custom slug which will be used in the URL of the gallery custom post, and thus benefit your website SEO.
- Description - Use this text editor box to provide a brief description for your image gallery.
- Gallery content type - Select the type of the content your gallery is going to have. The following three options are available:
- Mixed - these galleries can contain self-hosted images or Instagram photos, YouTube/Vimeo videos, and other media embeds.
- Instagram only - selecting this option restricts the content of the gallery, letting you add Instagram images only.
Once all of your settings have been configured, click Publish to save your gallery.

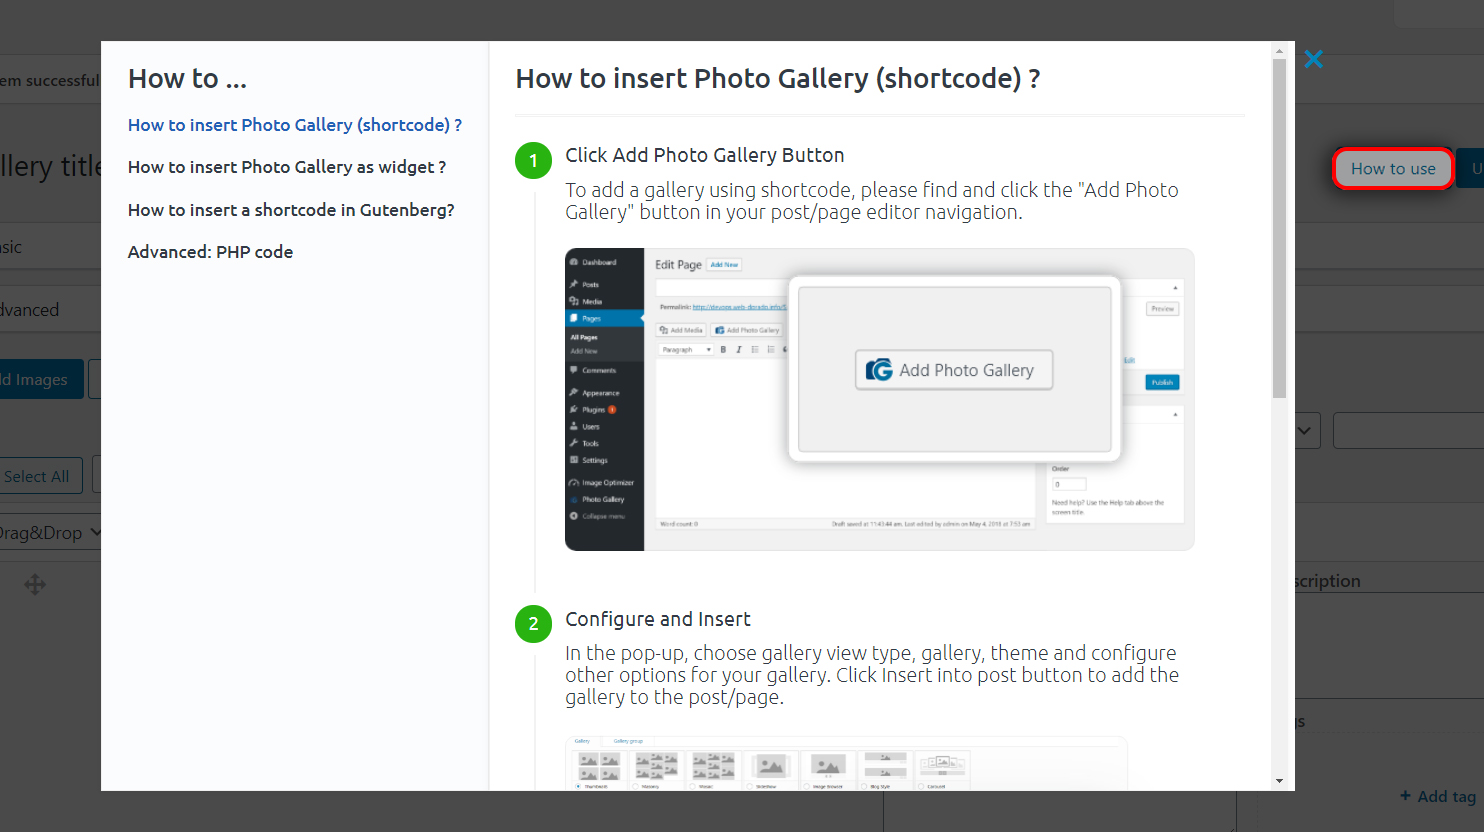
How to Use
After you first publish your gallery, a How to Use button will appear to the top right of your dashboard. Click to find a quick guide which assists you in publishing your gallery with the following methods:
- on a WordPress page or post
- into a custom PHP template
- and as a widget