WordPress Event Calendar plugin lets you publish your calendars on your website with the following two methods:
- on WordPress pages and posts, using shortcode,
- on any widget area, using Event Calendar WD Widget.
Let’s discuss the options mentioned above, and help you choose the way to publish your event calendar.
Publishing the Calendar into a Page or Post
To publish the created calendars with this method, add or edit the page or post from WordPress administrative panel of your site. Click Event Calendar WD icon from the top of the content editor to open the shortcode toolbox.

The toolbox popup consists of 3 sections:
- General,
- Views,
- Filters,
which allow you to personalize the calendar features even further. Let’s go through each section separately and discover all options.
General
Using Select Calendar option of General tab in the shortcode toolbox, choose the calendar you wish to publish. Afterwards, configure the following settings:
- Select View type. Choose the type for the published calendar. The following options are available:
- Full, which allows you to showcase your calendar with comprehensive features. In this case, event titles are shown on the calendar,
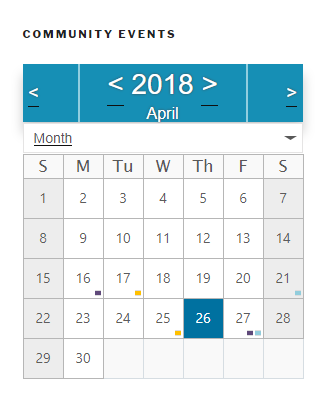
- Mini, which displays a smaller version of your event calendar. With this view type, the dates with events are marked with dots with the colors of event categories. Clicking on these dates expands the event list below the Mini calendar.
- Events per page in list view. Set the number of events to display with List view of the calendar.
- Calendar start date. You can set to display your calendar with any start date using this option. The date format must be Y-m(2016-05). Leave the input empty to display the current date.
- Enable event search. Mark this option to activate a search feature on your calendar, allowing visitors to look for any event quickly.

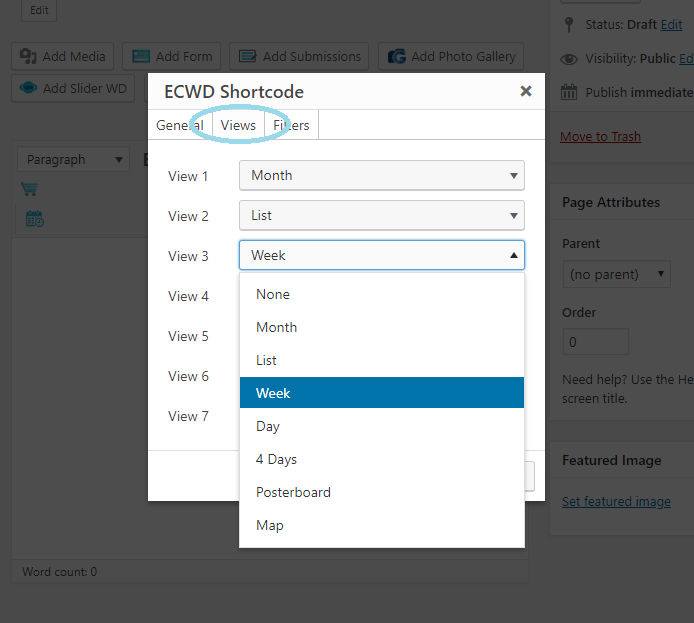
Views
With Event Calendar WD plugin, your calendars can be published with 7 stunning views listed below:
- Month,
- List,
- Week,
- Day,
- 4 Days,
- Posterboard,
- Map.
Click Views tab to access the corresponding settings, from View 1 through View 7. Each of these options controls the tabs on the published calendar.
View 1 option allows you to set the default view of the calendar (i.e. it displays when the page with the calendar is loaded). The order for the rest of the tabs is based on the selection of these options.
For example, let’s assume you need to display only Month and Map views on your calendar. To achieve this, you need to select:
- Month for View 1 drop-down,
- and Map for View 2,
then set the rest of view select boxes to None.
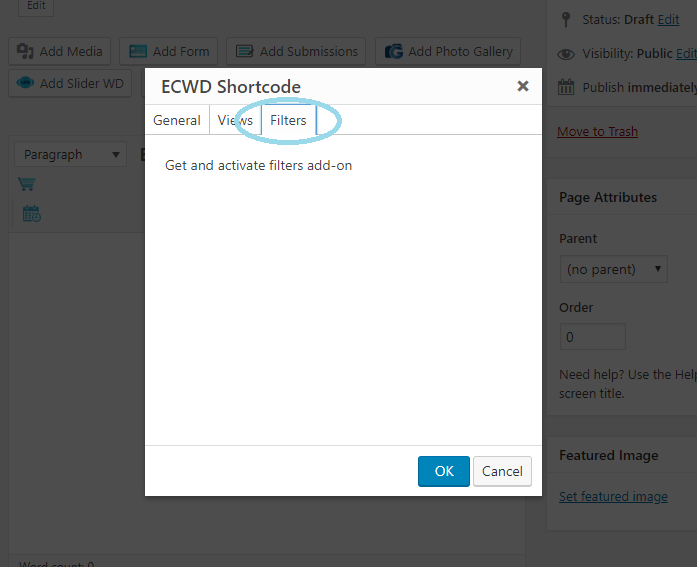
Filters
Filters tab of Event Calendar WD shortcode allows you to configure Filters extension of the plugin. It tunes up your calendar with highly intuitive filtering options, allowing website visitors to navigate through the events quickly and easily.
Configure Filters add-on by following its user guide.
Publishing Event Calendar as a Widget
Navigate to Appearance > Widgets page to begin publishing your calendar as a widget. From the left side of this dashboard, look for Event Calendar Widget. Click on it, then select the widget area where you wish to have the calendar.
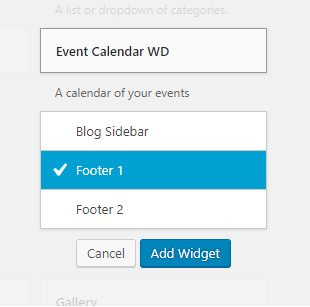
Afterwards, press Add Widget button.
To finalize the configuration of your event calendar widget, set a Title for it, then fill in the following options:
- Calendar to display. Choose the calendar to showcase with this widget.
- Display Events as. Select the view to display your event calendar with. You can choose between the following view types:
- Month,
- List,
- Week,
- Day.
- Calendar theme. Use this drop-down box to choose a theme for your event calendar widget.
- Events per page in list view. Set the number of events you wish to showcase the calendar is displayed with List view.

After the widget is configured as you like, make sure to press Save to publish it.
The calendar widget appears with a compact display type. In Month view, the dates with events are marked with colored dots. The colors are assigned with Category Color option of Event Calendar WD. As visitors click on these dots, the events of that date appear below the calendar widget.