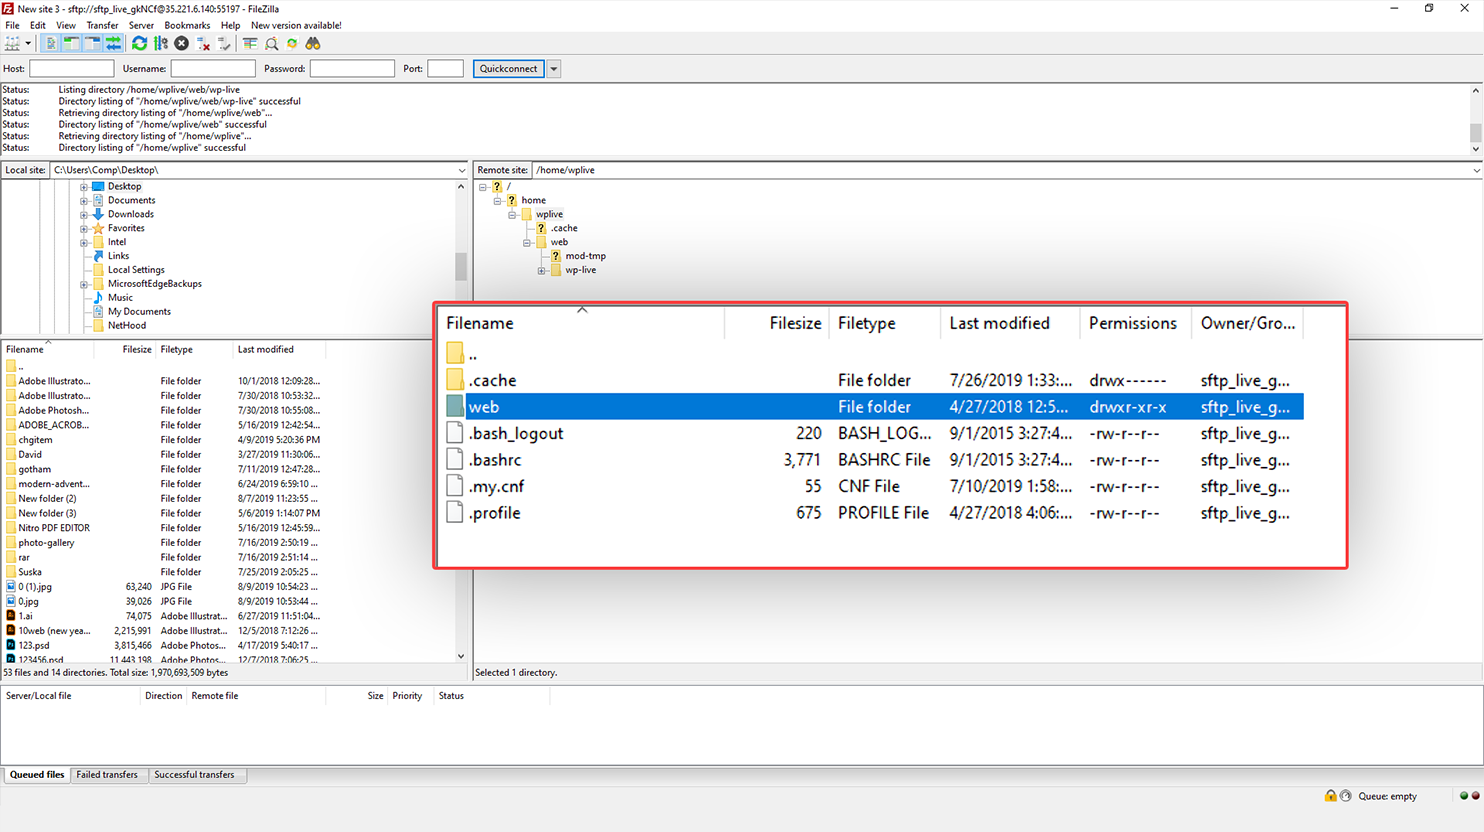
To add images using FTP, first, you need to install an FTP client. For this example, we’ll be using FileZilla.
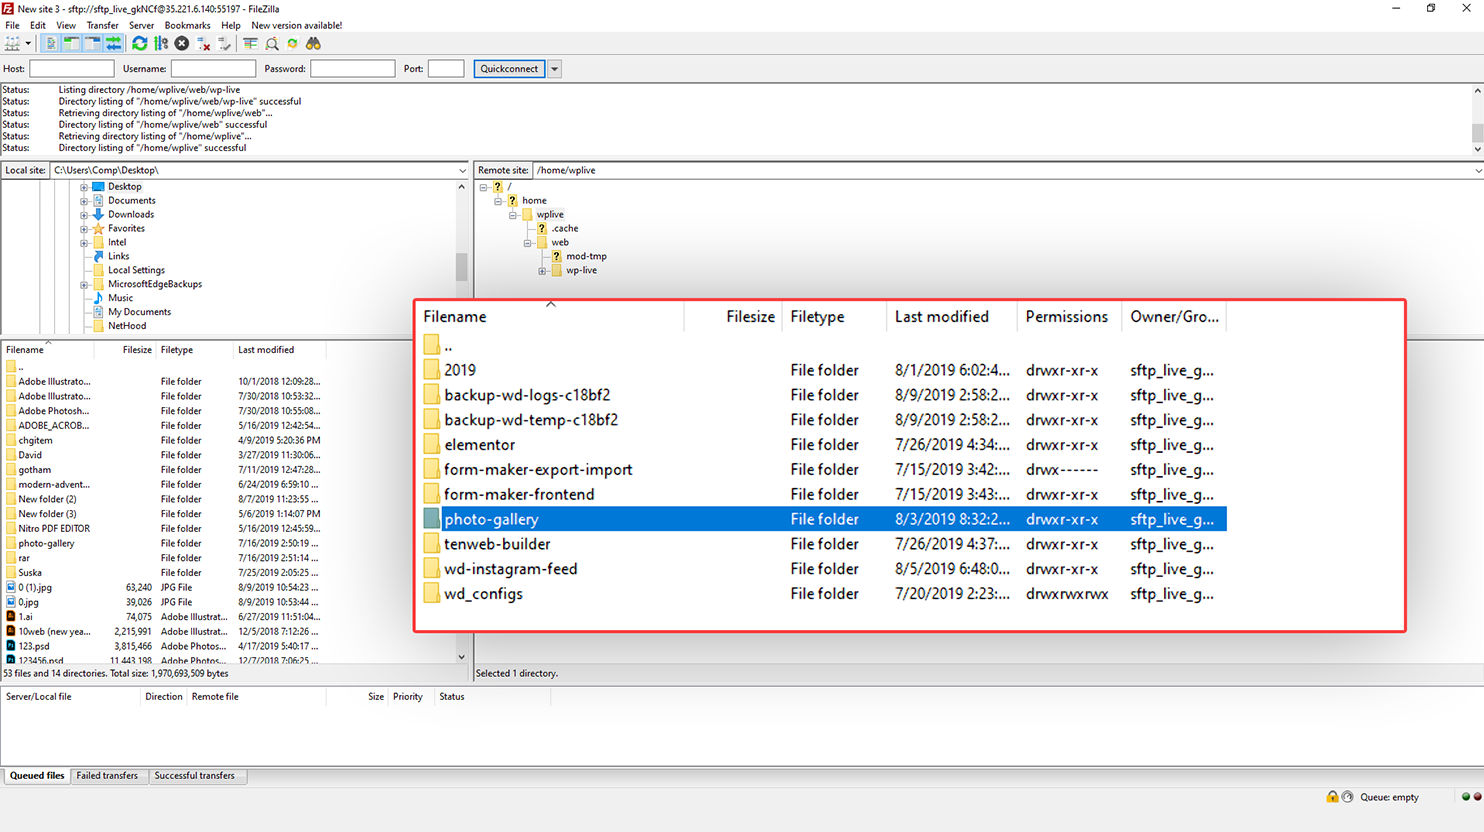
- Once you connect your website through the FileZilla client, you’ll see your local computer on the left window, and your website on the right.
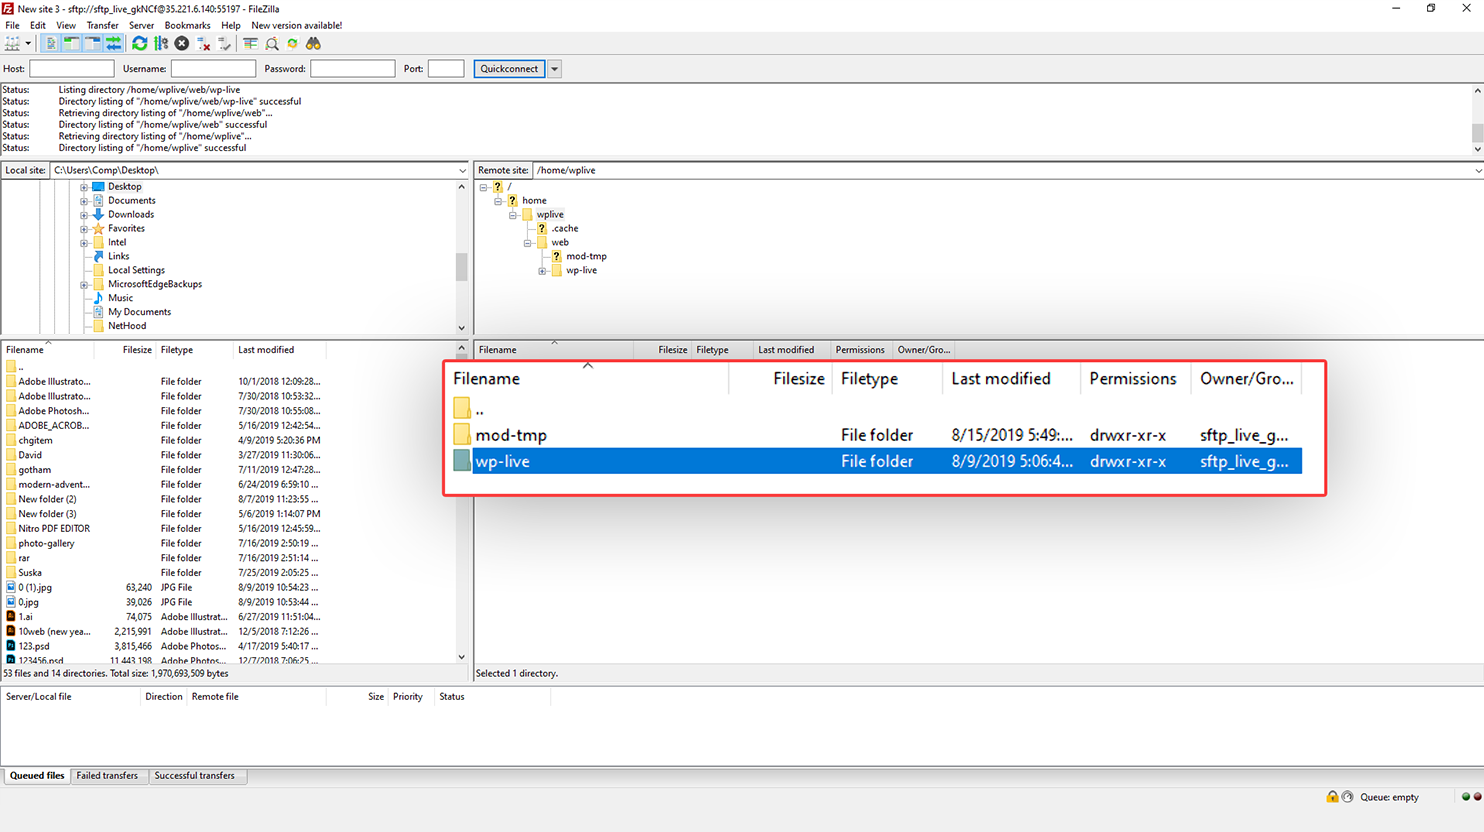
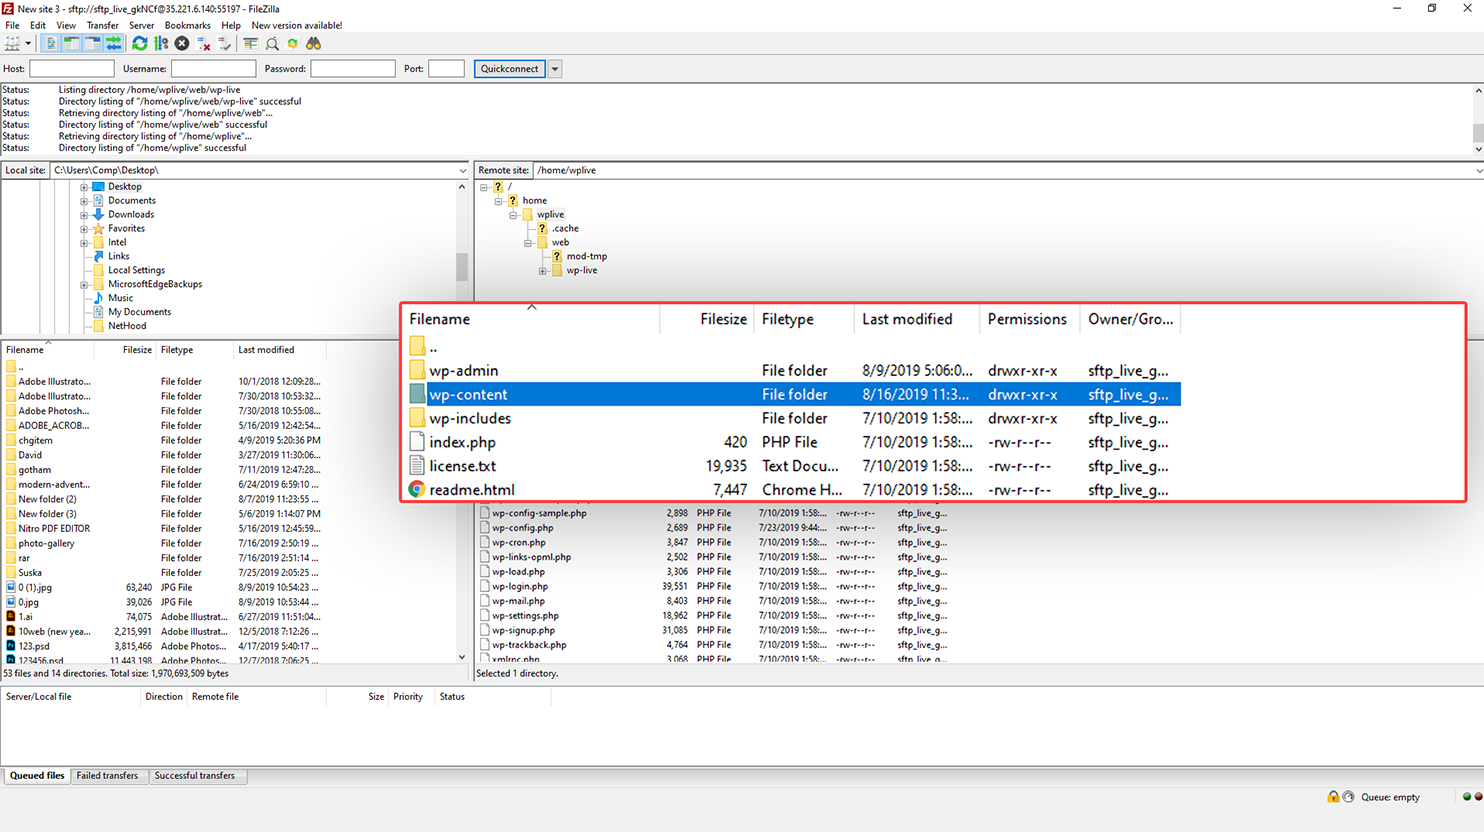
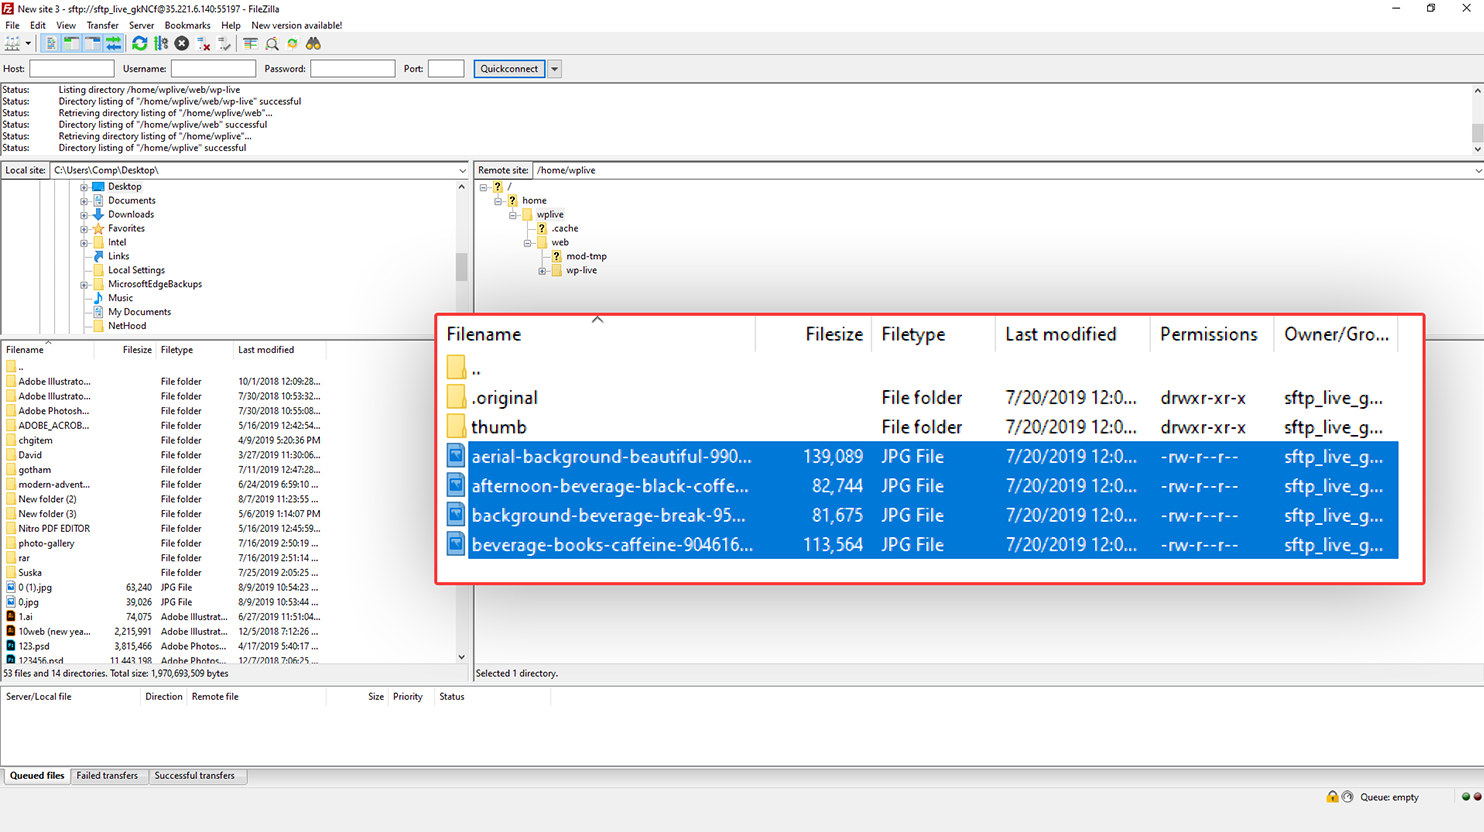
- The upload directory for the Photo Gallery is either /wp-content/uploads/photo-gallery or /wp-content/uploads depending on your WordPress upload directory. Locate and select this directory on the right window of your FileZilla client.
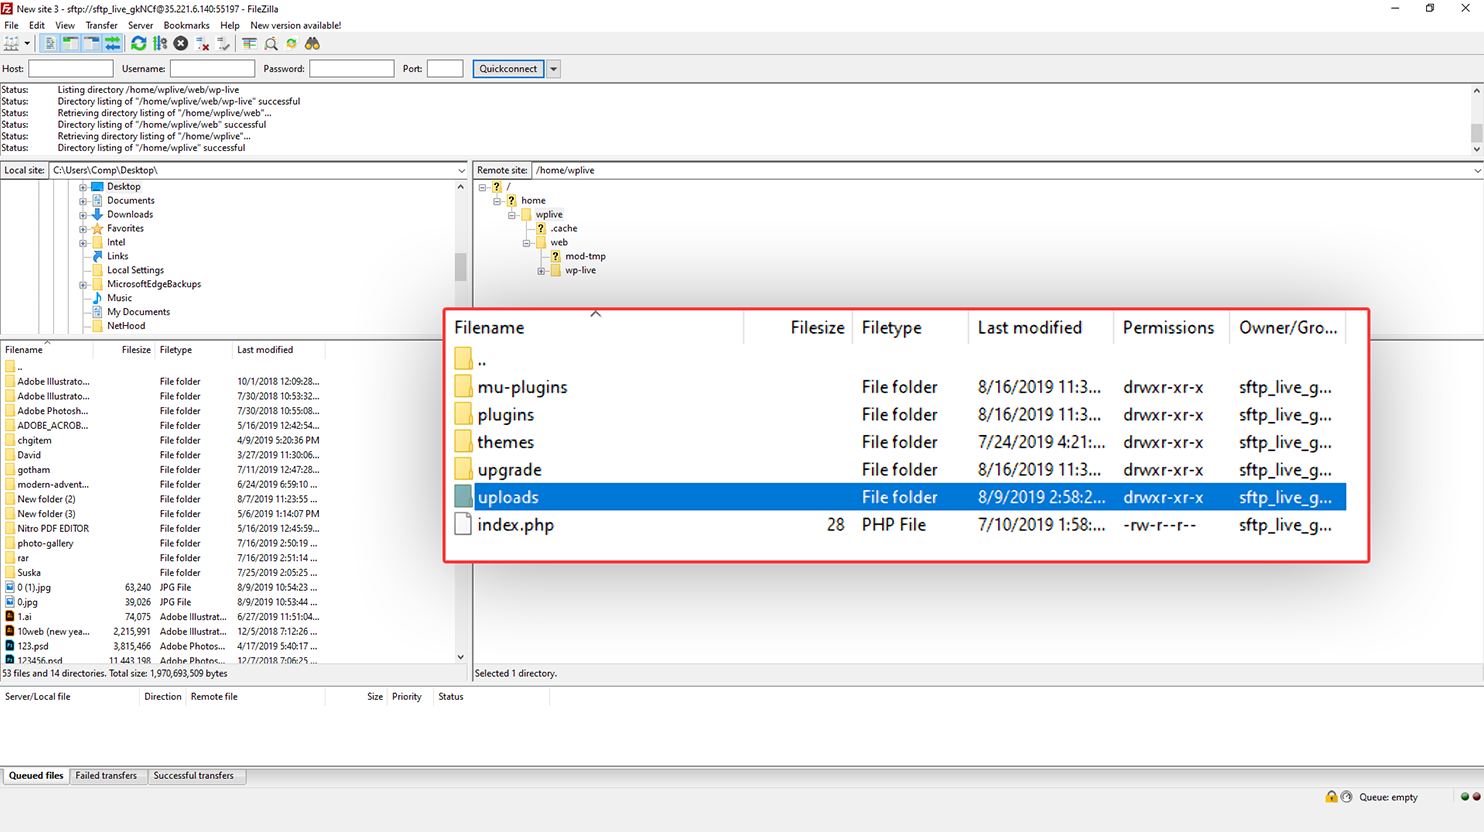
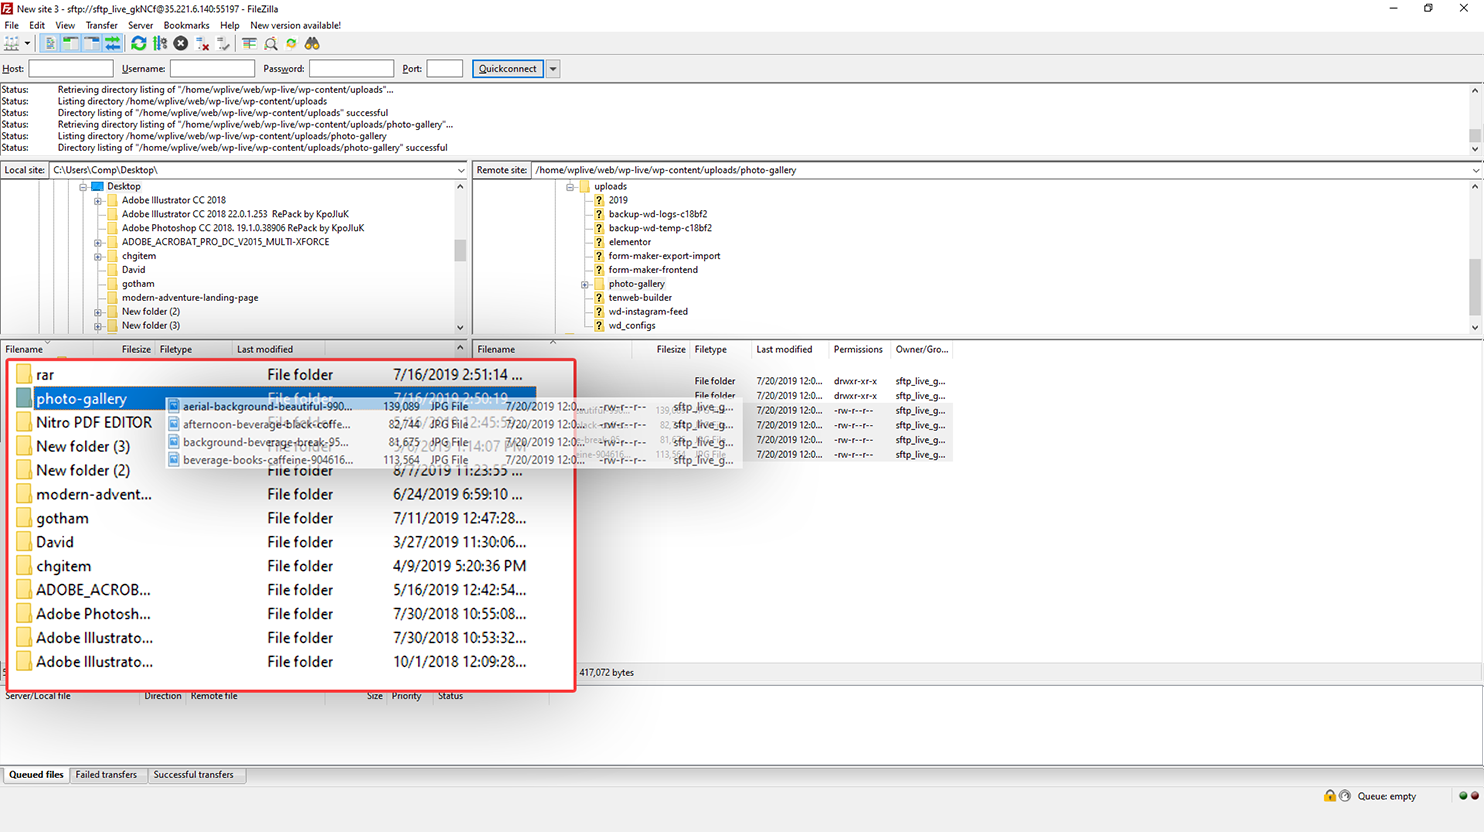
- Locate and select the images you wish to transfer from the window on the left.
- Finally, hold and drag the selected images from the left window to the right, so that they are in the correct directory specified above.
Note: To make use of your images’ full functionality (e.g. setting watermarks, rotating and cropping images, etc.) and to avoid using large sizes for thumbnails, make sure to reset the images that you’ve added using FTP.